
Why Grandma’s Cookies Are the Best: 3 Timeless Recipes
Have you ever walked into a kitchen filled with the sweet aroma of cookies baking in the oven? That distinctive scent instantly transports you back to childhood afternoons at your grandmother’s house, eagerly waiting for that first warm, gooey bite. There’s something magical about grandma’s cookies that no bakery or store-bought version can replicate.
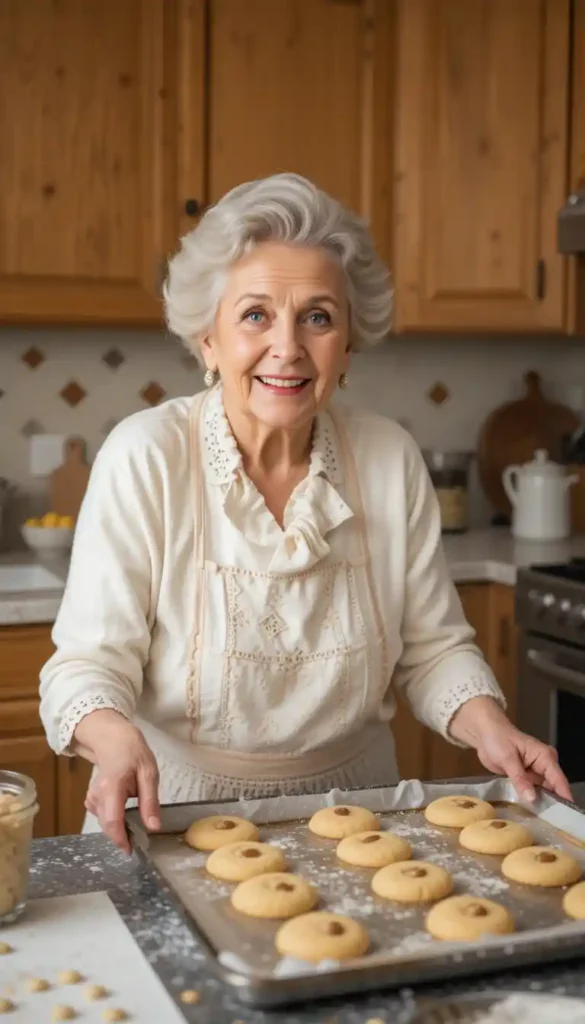
As a child, I would perch on a stool in my grandmother’s sunny kitchen, watching her hands work deftly with the dough—no—measuring cups needed. She knew exactly how the mixture should feel between her fingers. That tactile knowledge, passed down through generations, is part of what makes grandma’s cookies so special.
What makes these recipes timeless isn’t just the ingredients, though real butter and farm-fresh eggs certainly help. It’s the love, patience, and generations of kitchen wisdom baked into every batch. These three classic recipes have stood the test of time because they deliver consistent comfort and joy with every bite. The secret to grandma’s cookies isn’t written in any cookbook—it’s embedded in family traditions and techniques perfected over decades.
Table of Contents
The Secret Magic Behind Grandma’s Cookies
Why Nothing Compares to Homemade Tradition
There’s a scientific reason why your grandmother’s cookies taste better than anything you’ve ever purchased. Researchers have found that food associated with positive memories triggers different neural responses in your brain. The “grandma effect” isn’t just nostalgia—it’s your brain connecting those flavors with feelings of security, love, and happiness.
Traditional cookie recipes contain subtle differences that modern versions often skip. Your grandmother likely used:
- Stick with true butter rather than margarine or shortening.
- Farm-fresh eggs with vibrant yolks
- Pure vanilla extract rather than artificial flavoring
- Hand-mixed dough instead of machine-processed
- Patience—allowing ingredients to reach room temperature naturally
- Wooden spoons that add micro-aeration to the mixture
These seemingly minor details create dramatic differences in taste and texture that your palate recognizes, even if you can’t immediately identify them.
What Makes Grandma’s Baking Different
The difference begins with quality ingredients. Your grandmother probably wouldn’t dream of using anything but real butter in her cookies. Modern recipes often substitute vegetable oils or margarine for convenience and cost, but nothing matches the flavor profile and structural properties that butter provides.
Preparation technique makes an enormous difference, too. While you might try to speed up the process with electric mixers, your grandmother understood the value of gentle hand mixing. This method prevents overworking the gluten in the flour, resulting in more tender cookies.
Patience plays a crucial role in traditional baking. Your grandmother allowed eggs and butter to naturally reach room temperature before beginning, never rushing the process with microwaves. This simple step ensures proper emulsification of fats and more uniform cooking.
Perhaps most importantly, grandmothers bake with intuition rather than rigid adherence to recipes. They know exactly how the dough should feel, when to add a pinch more flour on humid days, or how to adjust baking time by looking at the cookies rather than relying solely on timers.
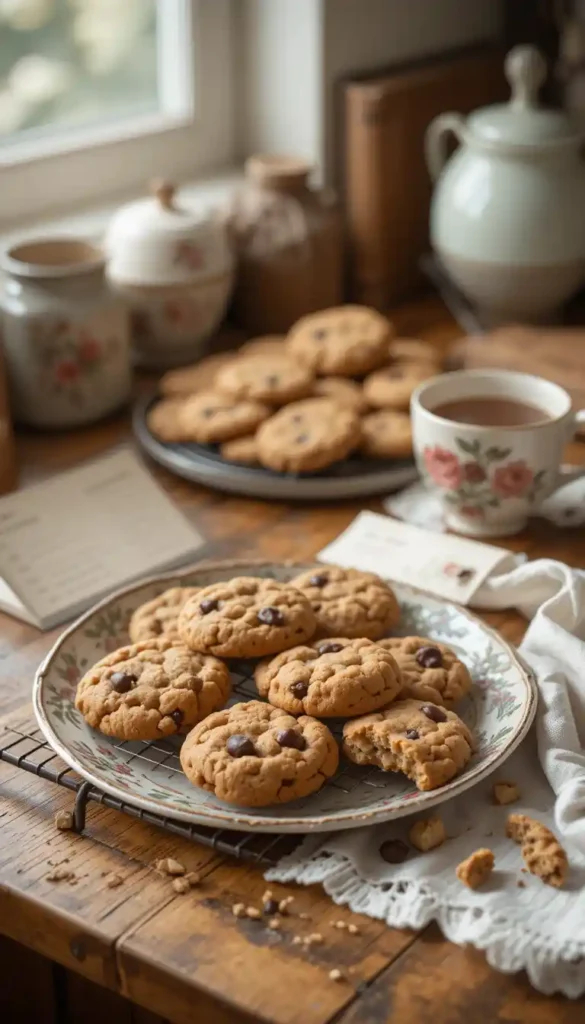
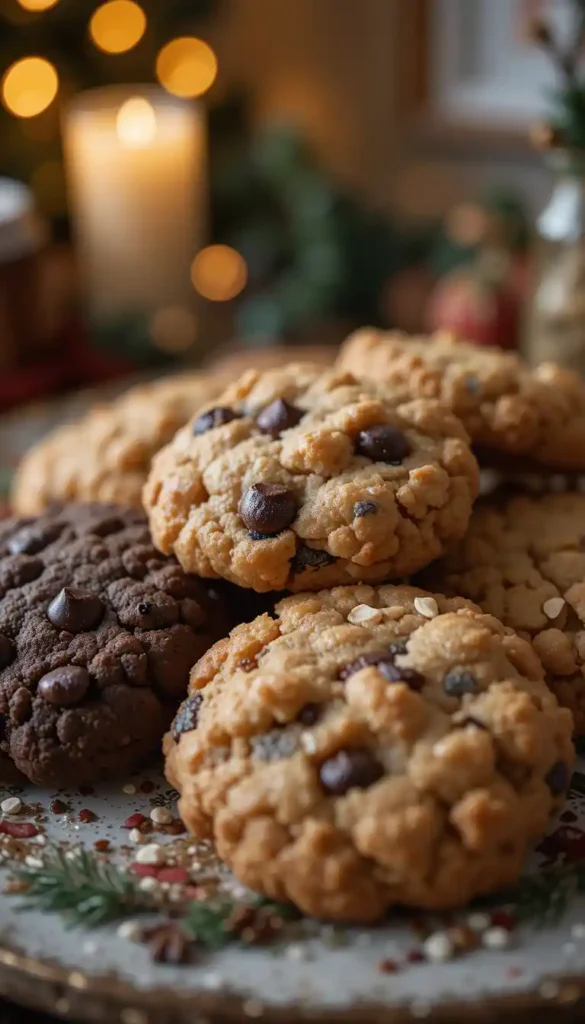
Timeless Recipe #1 – Classic Chocolate Chip Cookies
The Origin Story
While most modern chocolate chip cookie recipes trace back to Ruth Wakefield’s 1938 creation at the Toll House Inn, your grandmother likely added her special touches to make this classic truly memorable. Interestingly enough, Wakefield didn’t intend to invent the chocolate chip cookie—she thought the chocolate chunks would melt and blend into the batter.
Many grandmothers across America developed their variations during the mid-20th century when chocolate chips became widely available after World War II. These personal adaptations—an extra vanilla splash here, a hint of molasses there—transformed a popular recipe into a cherished family tradition.
Ingredient Breakdown
| Ingredient | Amount | Grandma’s Tip |
|---|---|---|
| All-purpose flour | 2¼ cups | Sift twice for lighter cookies |
| Unsalted butter | 1 cup | Room temperature is non-negotiable |
| Brown sugar | 1 cup | Pack it firmly for chewier cookies |
| Granulated sugar | ½ cup | Add a tablespoon more for crispier edges |
| Eggs | 2 large | Farm-fresh makes a difference |
| Vanilla extract | 1 tsp | Pure, not imitation |
| Chocolate chips | 2 cups | Mix semi-sweet and milk chocolate |
| Salt | 1 tsp | A pinch extra brings out sweetness |
| Baking soda | 1 tsp | Replace every six months for proper rise |
Step-by-Step Instructions
- Preparation: Leave butter and eggs on the counter for at least an hour before beginning. Preheat your oven to 375°F and line cookie sheets with parchment paper.
- Mix wet ingredients: In a large bowl, cream together butter and both sugars until light and fluffy—about 3-4 minutes of hand mixing. This creates air pockets essential for texture.
- Add eggs and vanilla: Mix in one egg at a time, fully incorporating each one before adding the next. Add vanilla and mix until just combined.
- Combine dry ingredients: In a separate bowl, whisk together flour, salt, and baking soda. Gradually add to the wet mixture, stirring gently with a wooden spoon until just combined. Overmixing develops gluten, making tough cookies.
- Add chocolate chips: Fold in chocolate chips using a gentle lifting motion rather than vigorous stirring.
- Form cookies: Drop rounded tablespoons onto prepared sheets, leaving 2 inches between each. Press slightly to flatten.
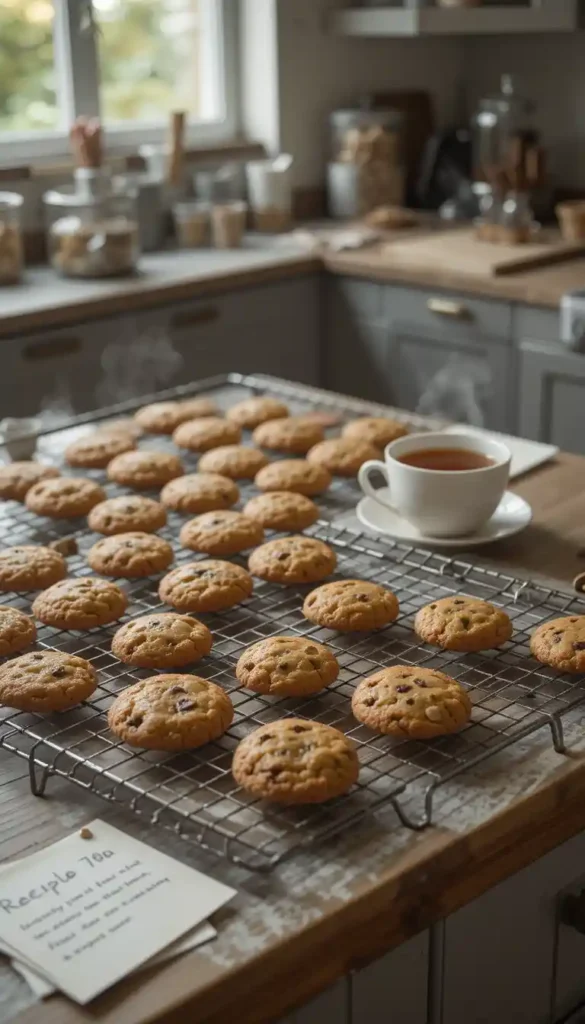
- Baking secret: Place cookies in the middle rack of your oven for 9-11 minutes, until edges turn golden but centers still look slightly underdone. This results in a chewy center paired with perfectly crisp edges.
- Cooling process: Let the cookies rest on the baking sheet for exactly 2 minutes before transferring to a wire rack—this stops the cooking process while allowing them to set properly.
Grandma’s special tip: Press a few extra chocolate chips on top of each cookie immediately after removing it from the oven for that picture-perfect look.
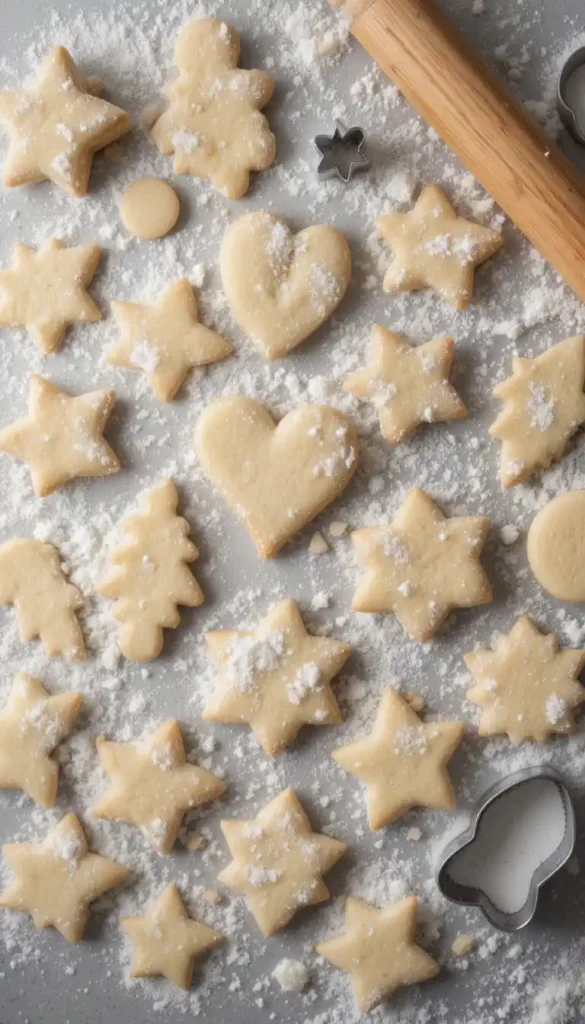
Timeless Recipe #2 – Buttery Sugar Cookies
Why Every Grandma Has a Sugar Cookie Recipe
Sugar cookies represent continuity in family traditions, with recipes often dating back multiple generations. Your grandmother likely made these simple yet versatile cookies for holidays, special occasions, or Sunday afternoon treats. Their simplicity made them perfect for little helpers in the kitchen—perhaps your first baking experience involved cutting shapes from sugar cookie dough.
Unlike trendy, complex cookies, sugar cookies have remained relevant through the decades because they create perfect canvases for seasonal expression. Whether decorated with colored sugar for Christmas or cut into heart shapes for Valentine’s Day, these adaptable treats reflect family celebrations throughout the year.
Ingredient Breakdown
| Ingredient | Amount | Grandma’s Tip |
|---|---|---|
| All-purpose flour | 3 cups | Measure after sifting |
| Butter | 1 cup | European-style for richer flavor |
| Sugar | 1½ cups | Superfine works best |
| Eggs | 2 large | Slightly beaten beforehand |
| Vanilla extract | 2 tsp | Add ¼ tsp almond extract for depth |
| Baking powder | 1 tsp | Fresh makes a difference |
| Salt | ½ tsp | Sea salt for subtle flavor |
Step-by-Step Instructions
- Preparation: Allow butter to soften naturally at room temperature for 1-2 hours. Preheat oven to 350°F.
- Cream butter and sugar: Mix until pale and fluffy—approximately 5 minutes by hand. This step incorporates air for proper texture.
- Add the eggs one at a time, beating well after each, then mix in the vanilla and optional almond extract.
- Mix dry ingredients: In another bowl, whisk together the flour, baking powder, and salt. Slowly incorporate into the wet mixture, stirring until just combined.
- Chill dough: Wrap dough in waxed paper and refrigerate for at least 2 hours. Your grandmother knew this step was non-negotiable—it prevents spreading and enhances flavor development.
- Roll and shape: On a floured surface, roll the dough to a thickness of ¼ inch. Use cookie cutters for shapes or a glass for traditional rounds.
- Bake the cookies: Arrange the cookies on parchment-lined baking sheets and bake for 8-10 minutes. They should remain pale with just slightly golden edges.
- Cooling: Allow cookies to rest on baking sheets for 5 minutes before transferring to cooling racks.
Decorating Like Grandma
- Classic royal icing: Mix 2 cups powdered sugar, 1½ tablespoons meringue powder, and 3-4 tablespoons warm water until glossy. This hardens perfectly for storage.
- Natural food coloring alternatives: Your grandmother might have used beet juice (pink), spinach puree (green), blueberry juice (blue), or turmeric (yellow) long before artificial colors became common.
- Simple decorating techniques: Use the back of a spoon to create swirls, press fork tines for patterns, or sprinkle with colored sugar before baking.
- Storage tip: Place cookies in tins with waxed paper between layers. Add a slice of bread to maintain moisture levels.
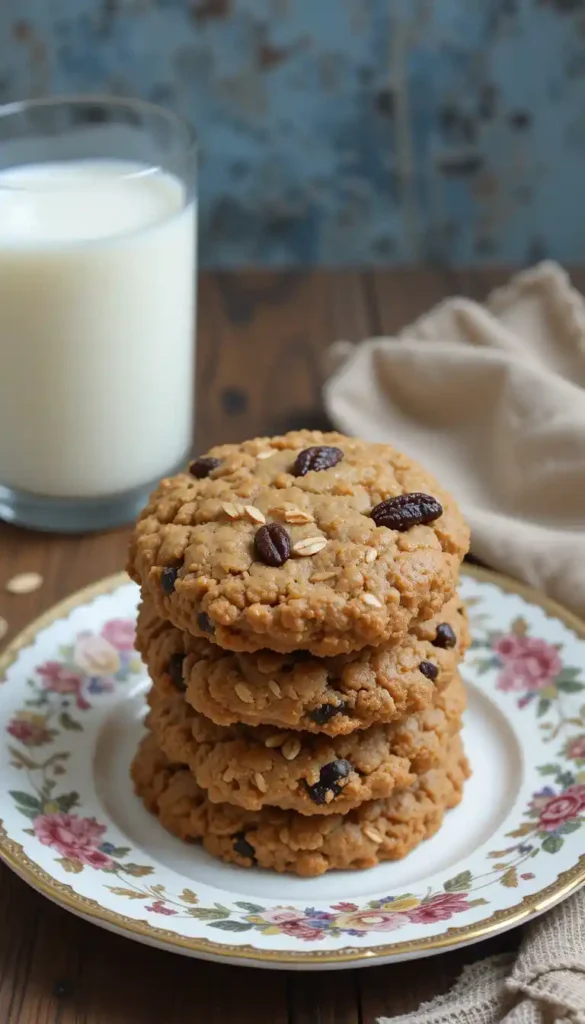
Timeless Recipe #3 – Oatmeal Raisin Spice Cookies
The Wholesome Classic
Long before “superfoods” entered our vocabulary, your grandmother understood the nutritional benefits of oats. These hearty cookies are often served as acceptable breakfast fare in many households, offering sustained energy throughout the morning.
Traditional spices like cinnamon, nutmeg, and cloves weren’t just flavor enhancers—they provided digestive benefits and warming properties during colder months. Your grandmother intuitively understood food as medicine, incorporating these beneficial ingredients into treats everyone would happily consume.
Ingredient Breakdown
| Quick oats work, but old-fashioned oats give a better texture | Amount | Grandma’s Tip |
|---|---|---|
| Rolled oats | 3 cups | Quick oats work, but old-fashioned oats give better texture |
| All-purpose flour | 1½ cups | Whole wheat flour can substitute ½ cup |
| Brown sugar | 1 cup | Dark brown gives a molasses richness |
| Butter | ¾ cup | Freshly ground, if possible |
| Eggs | 2 large | Add one extra yolk for chewiness |
| Cinnamon | 2 tsp | Quick oats work, but old-fashioned oats give a better texture |
| Nutmeg | ½ tsp | A little goes a long way |
| Raisins | 1½ cups | Soak in warm water first to plump |
| Chopped walnuts | 1 cup | Lightly toast for enhanced flavor |
| Vanilla extract | 1 tsp | Use the good stuff |
| Baking soda | 1 tsp | Essential for proper rise |
| Salt | ½ tsp | Balances sweetness |
Step-by-Step Instructions
- Preparation: Preheat oven to 350°F. Place raisins in warm water to plump for 10 minutes, then drain thoroughly.
- Brown the butter (optional grandma’s secret): In a light-colored saucepan, melt butter over medium heat, swirling occasionally until it turns amber and smells nutty. Cool completely before using.
- Mix wet ingredients: Combine butter and brown sugar until thoroughly mixed. Incorporate the eggs one at a time, followed by the vanilla.
- Mix dry ingredients: In a separate bowl, combine flour, baking soda, salt, cinnamon, and nutmeg.
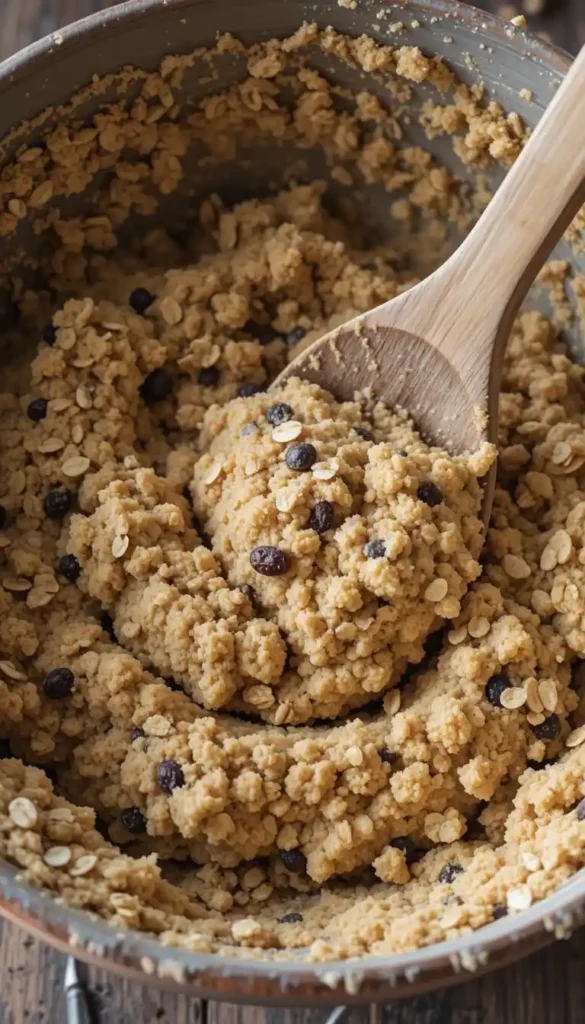
- Form the dough: Slowly incorporate the dry ingredients into the wet mixture, stirring until just combined. Fold in oats, then drain raisins and walnuts.
- Form cookies: Drop rounded tablespoons onto parchment-lined baking sheets, leaving space between each.
- Baking: Bake for 10-12 minutes until edges are golden but centers remain soft.
- Cooling: Let stand on baking sheets for 2 minutes before transferring to cooling racks.
The Perfect Texture Balance
For that ideal chewy center with slightly crisp edges:
- Underbake slightly—cookies will continue cooking on the hot baking sheet after removal
- For higher altitudes, increase the flour by 2 tablespoons and decrease the baking powder by ¼ teaspoon.
- In humid environments, store flour in the refrigerator before using to reduce moisture absorption
Make-ahead tip: Form cookie dough balls and freeze on a baking sheet. Once frozen, transfer to airtight containers. Bake the cookies directly from frozen, adding 2-3 extra minutes to the baking time.
Preserving Cookie Traditions
Passing Down More Than Recipes
Documenting family recipes involves more than listing ingredients and steps. To truly preserve your grandmother’s cookie legacy:
- Record the sensory cues she used—how the dough should feel, what the cookies should look like when done
- Note any special tools she preferred (that wooden spoon with the worn handle wasn’t just sentimental; it had perfect balance)
- Document adaptations for different situations or occasions
- Capture stories associated with particular recipes—when they were typically made, who especially loved them
Creating cookie-making traditions with younger generations ensures these recipes continue. Consider designating special days for baking together, creating personalized aprons, or establishing a “cookie journal” where family members record their experiences and adaptations.
“I never measure anything exactly. You just know when it feels right in your hands. That’s something you can’t write down—you have to show someone.” – Grandmother Eloise Martin
Common Issues and Solutions
| Problem | Grandma’s Solution |
|---|---|
| The cookies are browning too fast | Rotate the cookie sheet halfway through baking time |
| Cookies too dry | Brush the tops with beaten egg white before baking |
| Uneven baking | Add 1-2 tablespoons of milk to the dough |
| Cookies are spreading too much | Place parchment paper over cookies in last few minutes |
| Cookies too pale | Cookies are browning too fast |
| Raisins burning | Place parchment paper over cookies in the last few minutes |
| Cookies sticking to pan | Let cool slightly before removing |
Conclusion
Grandma’s cookies represent more than delicious treats—they embody family history, shared experiences, and culinary wisdom distilled through generations. The magic in these recipes comes not just from quality ingredients but from techniques refined through decades of kitchen experience.
By preserving these timeless recipes, you maintain a tangible connection to your family’s past while creating new memories for future generations. Each time you bake your grandmother’s chocolate chip, sugar, or oatmeal raisin cookies, you participate in a cherished tradition larger than yourself.
Start your cookie legacy today. Perhaps begin with the recipe that evokes the strongest childhood memories, then gradually work through all three. Document your experiences, make notes about adaptations, and most importantly, share these treasures with others. After all, the true magic of grandma’s cookies lies not just in their exceptional taste but in their capacity to bring people together around the warmth of shared tradition.
Git more recipes you might like
- The Best Heart Cake
- Chocolate Chip Cookies
- Sola Bread
- Chocolate Covered Potato Chips
- Blueberry Coffee
- Ginger Ice Cream
Frequently Asked Questions About Grandma’s Cookies
Q: What makes Grandma’s chocolate chip cookies taste better than store-bought ones? A: Grandma’s cookies typically use higher-quality ingredients like real butter and pure vanilla extract; plus, they’re made with patience and specific techniques refined over generations. Store-bought cookies often contain preservatives and artificial flavors that affect taste.
Q: Can I substitute margarine for butter in Grandma’s cookie recipes? A: While possible, butter provides flavor and texture essential to authentic grandma’s cookies. Margarine has higher water content and a different fat composition that affects the final product. If you must substitute, use stick margarine (not tub) with at least 80% fat content.
Q: How can I store Grandma’s cookies to keep them fresh longer? A: Store Grandma’s cookies in airtight containers with a slice of bread to maintain moisture. Different cookie types have different ideal storage methods—crisp cookies store best with a paper towel in the container, while soft cookies benefit from the bread method.
Q: What’s the most important tool for making authentic grandma’s cookies? A: Many grandmothers would say a wooden spoon for mixing is essential for grandma’s cookies, as it provides the right amount of incorporation without overworking the dough. Modern mixers can overbeat ingredients, developing too much gluten.
Q: Can Grandma’s cookie recipes be adapted for dietary restrictions? A: Yes, grandma’s cookies can be adapted while maintaining their essence. For gluten-free versions, use a 1:1 gluten-free flour blend. Egg allergies can be addressed with flax eggs (1 Tbsp ground flaxseed + 3 Tbsp water = 1 egg). Vegan butters have improved dramatically in recent years for dairy-free options.
Ready to Bake Grandma’s Classics?
If you’re craving that warm, nostalgic taste of homemade cookies, don’t wait—give one (or all) of these timeless recipes a try today. You’re just a few simple steps away from bringing back those comforting kitchen memories.
We’d love to hear how they turn out!
Leave a comment below, rate the recipe, or share your baking success on social media and tag us.
Looking for more cozy bakes?
Check out these reader favorites:
- Mom’s Secret Banana Bread Recipe
- Make the Best Tiramisu Cake at Home
- Classic Peanut Butter Cookies That Melt in Your Mouth
Never miss a sweet moment.
Subscribe to our newsletter or follow us on Pinterest and Instagram @JoyfulCakes for weekly baking inspiration and new recipe updates.
This content is for informational purposes only. Always follow proper food safety guidelines when preparing and storing homemade cookies.
Did You Try Our Recipe?
There are no reviews yet. Be the first one to write one.