
How to Make Bunny Bread
Table of Contents
Table of Contents
Easter celebrations call for special touches that delight both the eyes and taste buds. If you’re looking to create a centerpiece that doubles as a delicious treat, bunny bread delivers charm without requiring professional baking skills. This step-by-step guide will walk you through creating these adorable rabbit-shaped loaves that will have everyone at your Easter gathering hopping with joy.
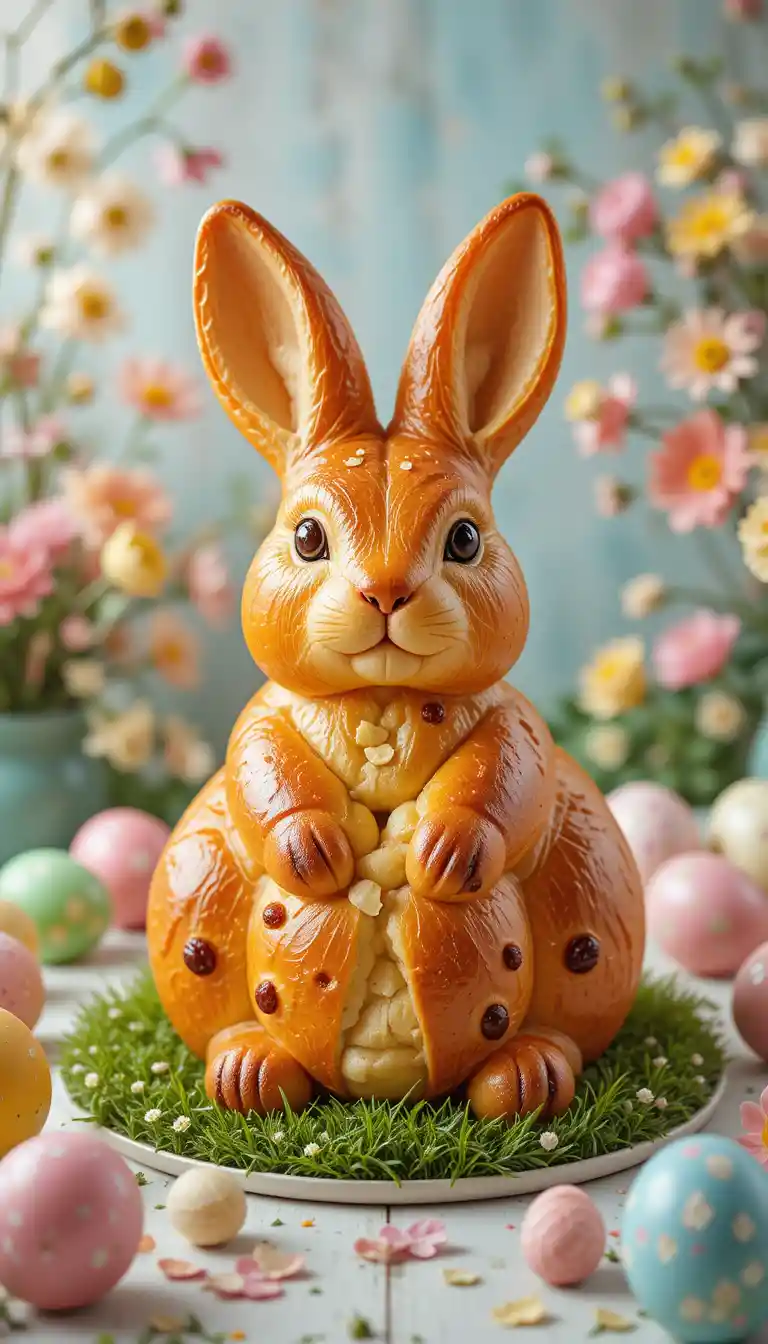
The beauty of bunny bread lies in its simplicity. You don’t need fancy equipment or specialized baking skills to create these charming creations. With just a few basic ingredients and some creative shaping, you’ll have an Instagram-worthy centerpiece that guests will be reluctant to eat – but once they take that first bite, they’ll be glad they did!
Why Bunny Bread Should Hop onto Your Easter Menu
When planning your Easter feast, bunny bread deserves a prime spot on your menu planning list. These adorable loaves offer multiple benefits that make them worth the effort:
- They create memorable experiences for children who will delight in their whimsical shape
- They serve a dual purpose as both decoration and delicious food
- They provide a creative activity for family bonding during holiday preparations
- They photograph beautifully for social media sharing
- They use basic pantry ingredients that you probably already have available.
- They can be customized to suit various flavor preferences
Unlike store-bought breads that often contain preservatives and artificial ingredients, your homemade bunny bread delivers fresh, wholesome goodness. The warm, yeasty aroma that fills your home while baking creates an atmosphere of comfort and celebration that commercial alternatives simply cannot match.
Essential Ingredients for Perfect Bunny Bread
Before rolling up your sleeves to shape these cute creations, gather everything you’ll need. The beauty of bunny bread lies in its simplicity – basic pantry staples come together to create something spectacular.
| Ingredient | Amount | Notes |
|---|---|---|
| All-purpose flour | 4 cups | High-quality flour yields better results |
| Active dry yeast | 2¼ teaspoons | One standard packet |
| Warm water | 1 cup | 105-110°F—warm but not hot |
| Granulated sugar | 2 tablespoons | Helps activate the yeast |
| Salt | 1½ teaspoons | Enhances flavor |
| Unsalted butter | 3 tablespoons | Softened to room temperature |
| Eggs | 2 large | One for dough, one for egg wash |
| Milk | ¼ cup | For richness in dough |
| Raisins or chocolate chips | Small handful | For eyes and decoration |
Each ingredient plays an important role in your bunny bread’s success. The flour provides structure, while yeast creates the rise that keeps your bread light and fluffy. Sugar feeds the yeast and adds subtle sweetness, while salt balances the flavors. Butter and milk enrich the dough, creating a tender crumb that’s perfect for tearing and sharing.
Equipment You’ll Need
Baking Essentials
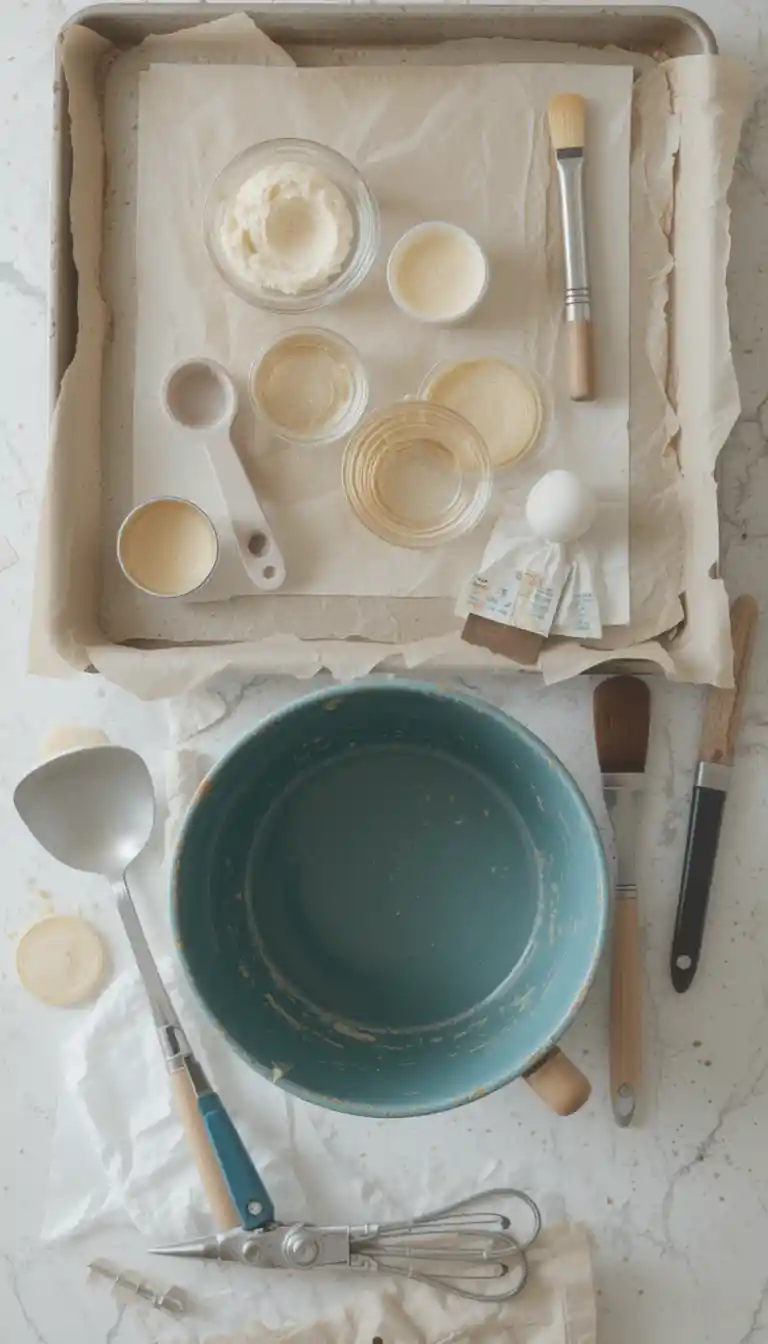
Before diving into the mixing and kneading process, make sure you have these tools ready:
- A large mixing bowl for combining ingredients
- Measuring cups and spoons for accurate measurements
- A baking sheet to hold your bunny creation
- Parchment paper to prevent sticking
- Sharp scissors or kitchen shears for creating texture
- A pastry brush for applying egg wash
- A cooling rack for proper cooling after baking
Although a stand mixer with a dough hook attachment can simplify the kneading process, it’s not essential. Many bakers prefer hand-kneading for better control and connection with the dough. The warmth of your hands helps activate the yeast and develop the gluten structure that gives your bunny bread its perfect texture.
Step-by-Step Bunny Bread Method
Preparing the Dough
Creating perfect bunny bread starts with mastering the dough. Follow these steps carefully for bread that’s both beautiful and delicious:
- Activate the yeast: Pour warm water into a small bowl. The temperature should feel like warm bathwater on your wrist, not hot. Sprinkle sugar over the water, then add your yeast. Stir gently, then let stand for 5-10 minutes until foamy. This foaming action confirms your yeast is alive and ready to work its magic.
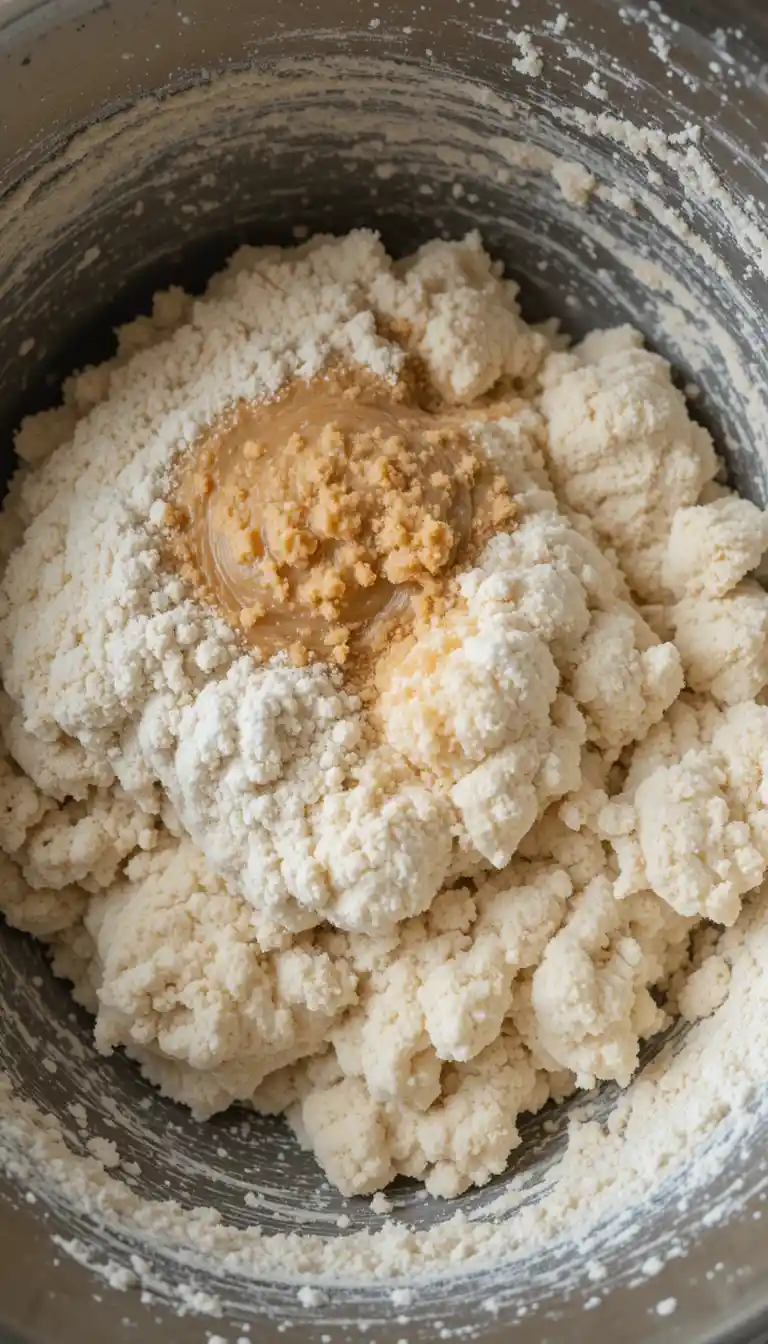
- Mix dry ingredients: In a large bowl, whisk together flour and salt until well combined. This even distribution ensures your bread will have a consistent flavor.
- Combine the wet and dry ingredients by creating a well in the center of the flour mixture. Pour in the activated yeast mixture, one beaten egg, milk, and softened butter. Stir with a wooden spoon until a rough, shaggy dough comes together.
- Knead the dough: Turn your dough onto a lightly floured surface. Knead for 8-10 minutes, pushing with the heel of your hand, folding the dough over, and rotating it slightly between pushes. You’ll know the dough is ready when it feels smooth and elastic and springs back when lightly poked.
- For the first rise, form your dough into a ball and place it in a lightly greased bowl. Cover the bowl with a damp kitchen towel or plastic wrap. Set in a warm, draft-free spot to rise for about 1 hour or until doubled in size. The ideal temperature is around 75-80°F. During colder months, you might place the bowl near (not on) a heating vent or on top of a refrigerator.
While waiting for your dough to rise, prepare your baking sheet by lining it with parchment paper and gathering any decorative elements you plan to use for eyes and features.
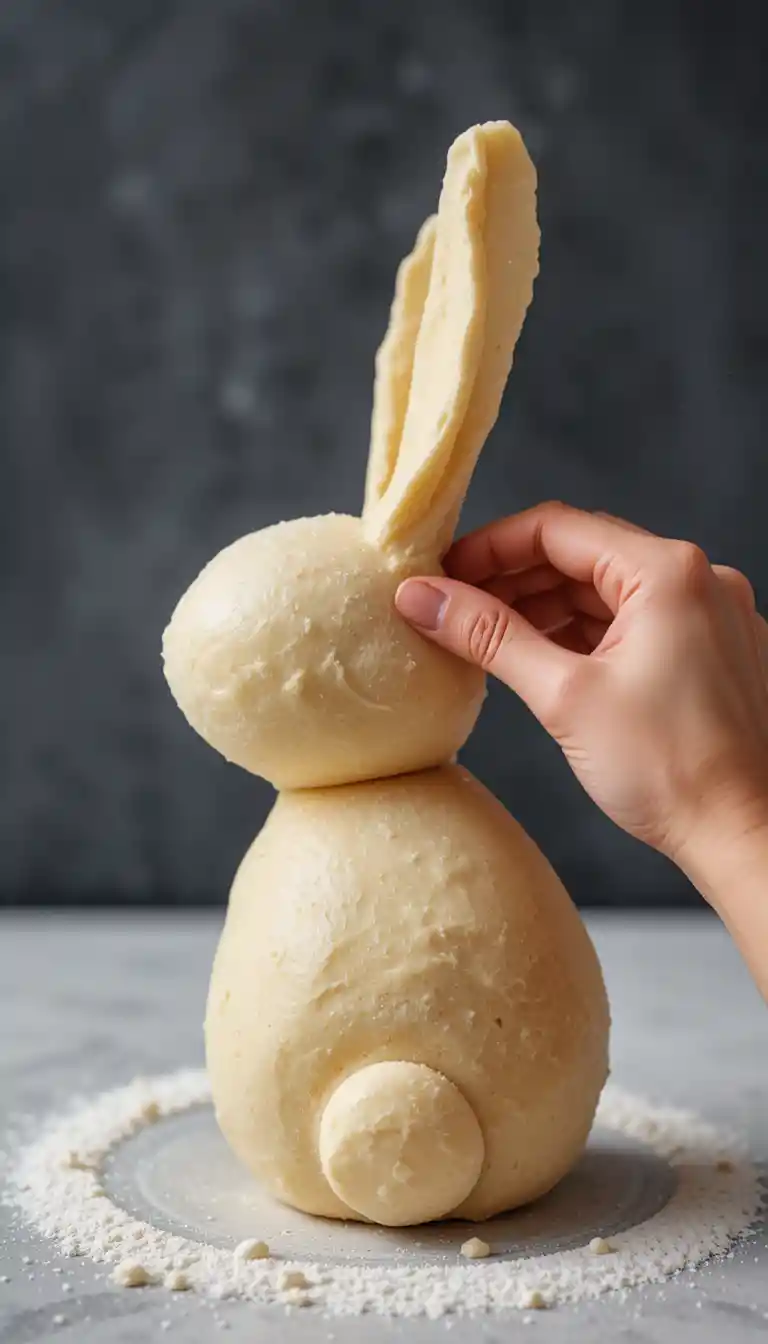
Shaping Your Bunny Bread
Once your dough has doubled in size, it’s time for the fun part – transforming that simple ball of dough into an adorable Easter bunny:
- Punch down the risen dough by pressing your fist gently into the center. This releases excess air bubbles. Transfer the dough to a lightly floured surface and divide it into portions:
- Take a large portion (about 2/3 of the dough) for the body.
- Set aside a medium portion (roughly 1/4 of the dough) for the head.
- Shape the remaining dough into the ears, tail, and paws.
- The remaining dough for the ears, tail, and paws
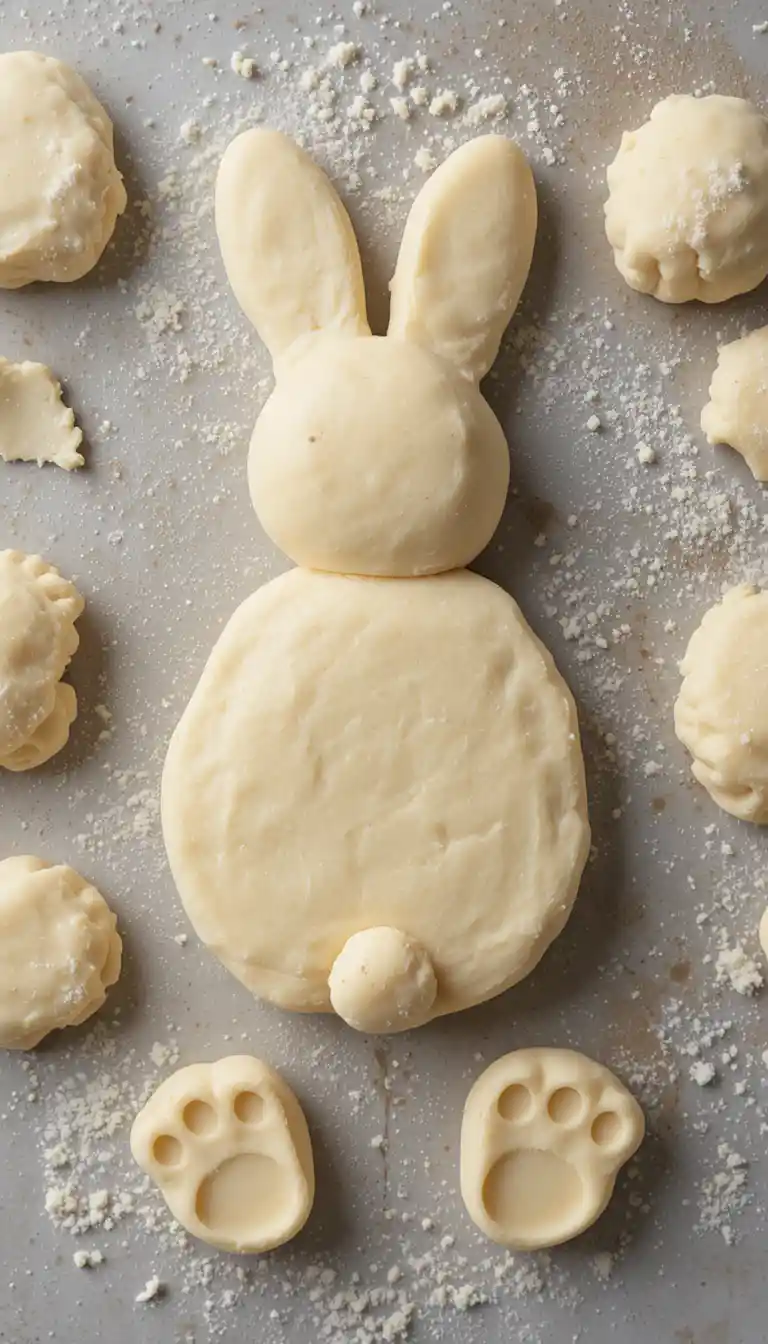
- Form the body: Shape the largest portion into an oval, about 7-8 inches long, and place on your parchment-lined baking sheet. Smooth the surface with your hands, tucking any seams underneath.
- From the head: Shape the medium portion into a ball and attach it to one end of the body. Secure by slightly tucking the head under the body and pinching the dough together where they meet. The connection point should be firm to prevent separation during baking.
- Shape the ears: Split a small portion of dough into two equal pieces. Shape each into a teardrop, then gently flatten with your fingers. Position them at the top of the head, spacing them evenly apart. Pinch firmly at the base to secure to the head. For extra stability, moisten the attachment points with a tiny bit of water.
- Add the details:
- Shape a small ball for the tail and attach it to the other end of the body.
- Create four small balls for paws and place them appropriately—two near the front and two along the sides of the body
- Use kitchen scissors to make small cuts on the ears for texture (optional, creates a more realistic appearance)
- Gently press raisins, chocolate chips, or small pieces of dough into place for eyes
- If desired, add a small triangle-shaped piece for the nose
Take your time with this shaping process. The attention to detail during this stage determines how recognizable and adorable your finished bunny bread will be. If the dough becomes too elastic and keeps springing back as you shape it, cover it with a kitchen towel and let it rest for 5-10 minutes before continuing.
Baking Your Bunny Creation
With your bunny-shaped and detailed, you’re ready for the final steps that transform your dough into golden, delicious bread:
- Second rise: Cover your shaped bunny with a clean kitchen towel and let rise for 30 minutes. This second rise allows the dough to puff up slightly, creating a lighter texture in the finished bread.
- Prepare for baking: While the bunny rises, preheat your oven to 375°F (190°C). Position a rack in the middle of your oven for even baking.
- Apply egg wash: Beat remaining egg with 1 tablespoon water until well combined. Using a pastry brush, gently brush the egg mixture over the entire surface of your bunny. This creates a beautiful golden shine once baked. Be careful not to apply too much pressure, which could deflate your risen dough.
- Bake: Place your bunny bread in the preheated oven and bake for 25-30 minutes. Look for a rich, golden brown color and a hollow sound when you tap the bottom of the bread. If the ears begin browning too quickly, tent them with small pieces of aluminum foil.
- Cool: Transfer your beautiful bunny bread to a wire cooling rack and allow it to cool for at least 20 minutes before serving. This cooling time helps the bread’s structure set and finishes the baking process.
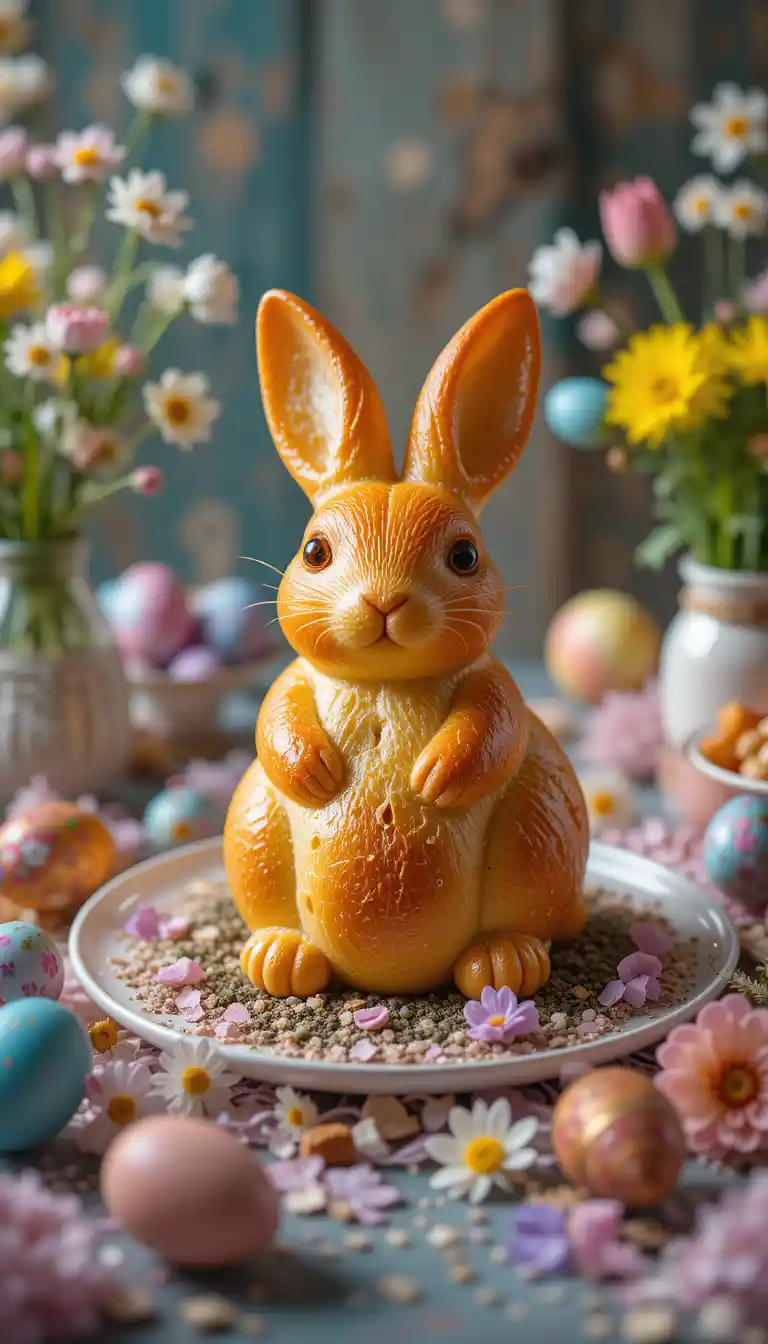
The transformation in the oven is truly magical – your carefully shaped dough becomes a golden brown bunny that will delight everyone at your Easter gathering. Your kitchen will fill with the irresistible aroma of freshly baked bread, building anticipation for the moment when your bunny bread makes its appearance at the table.
Creative Variations for Your Bunny Bread
Sweet Bunny Options
Once you’ve mastered the basic bunny bread recipe, consider these delicious variations:
- Cinnamon-sugar coating: Mix 1/4 cup sugar with 1 tablespoon cinnamon and sprinkle over egg-washed bunny before baking
- Vanilla glaze: Combine 1 cup powdered sugar with 2 tablespoons milk and 1/2 teaspoon vanilla, and drizzle over cooled bread
- Sweet dough: Add 1/4 cup extra sugar and 1 teaspoon vanilla to the basic dough for a dessert-like bread
- Chocolate chip dough: Fold 1/2 cup mini chocolate chips into the dough during the final kneading stage
Savory Alternatives
For those who prefer savory flavors, these variations offer delicious alternatives:
- Herb-infused dough: Add 2 tablespoons fresh chopped herbs like rosemary, thyme, and parsley
- Garlic butter: Combine 3 tablespoons melted butter with 2 minced garlic cloves and brush over the bunny immediately after baking
- Cheese-topped: Sprinkle 1/2 cup shredded cheddar or Parmesan over egg-washed bunny before baking
- For an everything bagel flavor, brush with egg wash and sprinkle with everything bagel seasoning before baking.
These variations allow you to customize your bunny bread to complement the rest of your Easter menu perfectly. You might even consider making two bunnies – one sweet and one savory – to offer variety to your guests.
Serving Suggestions and Pairings
Your beautiful bunny bread deserves to be showcased and enjoyed in ways that highlight its charm. Consider these presentation and serving ideas:
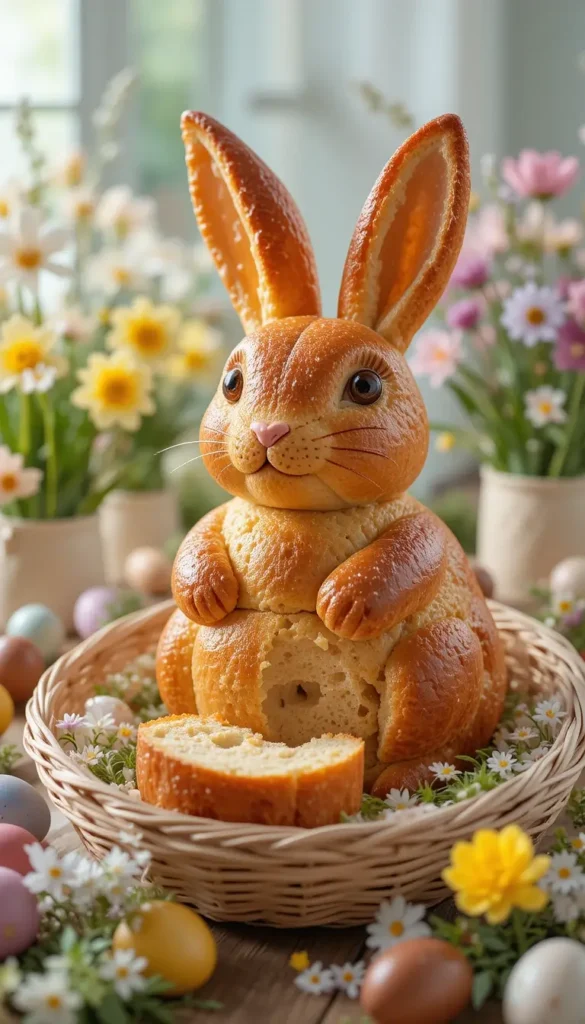
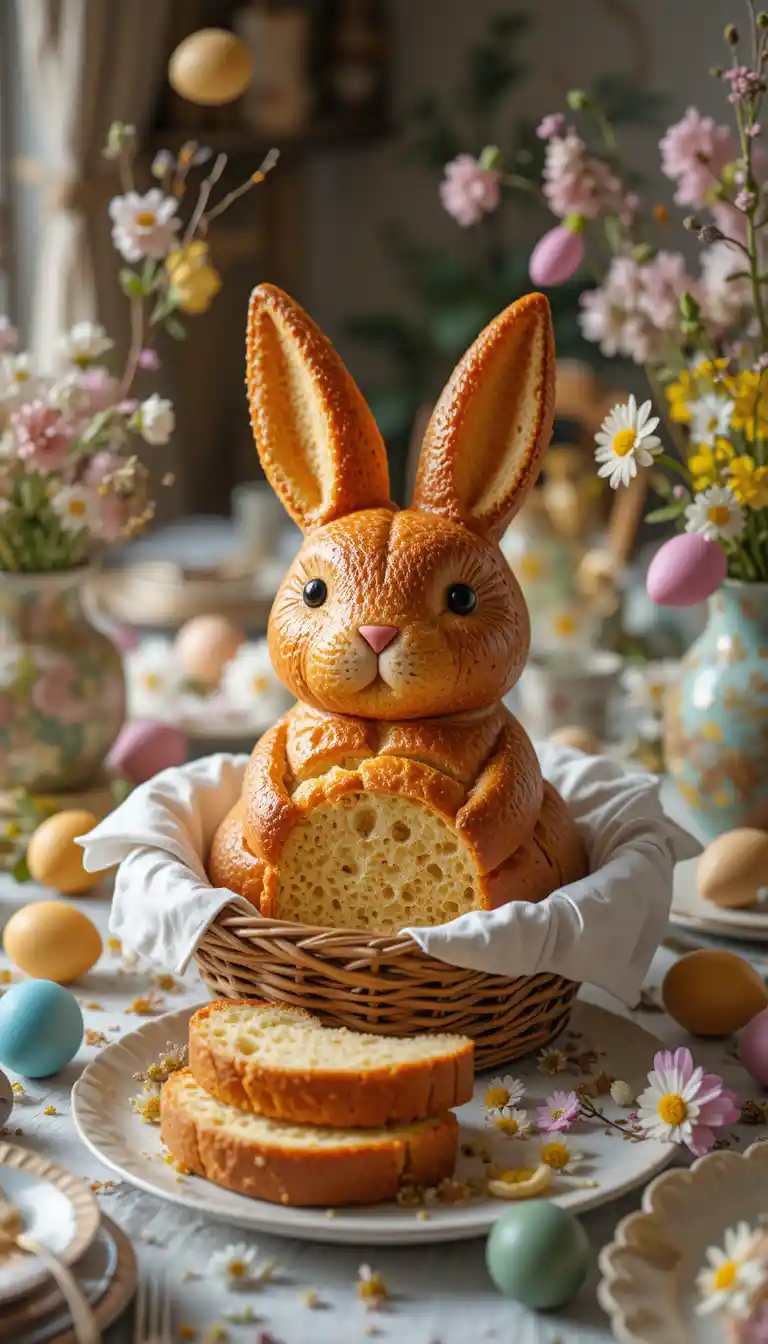
- Place your bunny bread at the center of your Easter bread basket, surrounded by vibrant Easter eggs.
- Serve with a selection of flavored butters in spring colors (herb butter tinted green, honey butter, and berry-infused butter tinted pink)
- Include bunny bread as part of a grazing board with spring vegetables, dips, and cheeses
- Use leftover bunny bread for extraordinary sandwiches the next day
- Serve alongside spring soups like carrot or asparagus bisque
- Complement your Easter ham or lamb with bunny bread on the side
For an extra special presentation, consider placing your bunny bread on a bed of edible “grass” made from thinly sliced and lightly dressed lettuce or microgreens. This creates a beautiful Easter scene that’s completely edible.
“Breaking bread together creates bonds that last a lifetime—especially when that bread is shaped like an adorable bunny! These festive loaves bring smiles to faces young and old alike, making your Easter table memorable for everyone.”
Troubleshooting Common Bunny Bread Issues
Even experienced bakers occasionally encounter challenges. Use this troubleshooting guide to address common bunny bread problems:
| Problem | Possible Cause | Solution |
|---|---|---|
| Ears fall over during baking | Ears too heavy or not secured properly | Make ears shorter/thinner and pinch more firmly to attach; consider using toothpicks during baking (remove before serving) |
| Use fresh yeast within the expiration date; ensure water is 105-110°F (too hot kills yeast, too cold won’t activate it) | Old yeast or incorrect water temperature | Set a timer and check the bread at minimum baking time; use just enough flour to prevent sticking |
| Uneven browning | Oven hot spots or uneven heat distribution | Rotate pan halfway through baking; check your oven temperature with an oven thermometer |
| Features lose shape during baking | Overrising or under-kneading | Limit second rise to 30 minutes; ensure dough is thoroughly kneaded until smooth and elastic |
| Dry texture | Overbaking or using too much flour during kneading | Overbaking or too much flour during kneading |
Remember that even “imperfect” bunny bread has charm! If your creation doesn’t turn out exactly as planned, embrace its unique personality – your family will still be impressed by your homemade efforts.
Make-Ahead and Storage Tips
Easter morning is busy enough without having to prepare bread dough from scratch. These time-saving strategies help you enjoy both your bunny bread and your holiday:
- Prepare ahead: Shape your bunny the night before, cover it with plastic wrap, and refrigerate it. The next morning, let it come to room temperature for 30-45 minutes before baking.
- Storage: Keep your baked bunny bread in an airtight container at room temperature for up to 3 days. For best freshness, avoid refrigerating as this can dry out the bread.
- Freezing: Fully baked and cooled bunny bread freezes beautifully. Wrap tightly in plastic wrap, then aluminum foil, and freeze for up to 1 month. Allow it to thaw at room temperature overnight before serving.
- Refreshing: To revive day-old bunny bread, sprinkle it with a few drops of water and warm it in a 300°F oven for 5-10 minutes. This restores a fresh-baked texture and aroma.
If you’re particularly proud of your bunny bread creation, consider taking photos before serving. Many families find that bunny bread becomes an annual tradition, and it’s fun to compare your creations from year to year as your baking skills evolve.
Conclusion: Hopping Into Easter Baking Traditions
Creating bunny bread for Easter isn’t just about the delicious result—it’s about crafting memories and traditions that last far beyond the holiday. The joy on children’s faces when they see these adorable bread bunnies is worth every minute spent shaping and baking. Whether you’re a seasoned baker or trying bread-making for the first time, this recipe offers a perfect balance of simplicity and charm that will have everyone at your Easter gathering impressed by your creativity.
The beauty of bunny bread lies in its versatility. You can adapt the recipe to suit your family’s taste preferences, dietary needs, and skill level. Even if your first attempt isn’t picture-perfect, the experience of creating something with your hands—especially with family members helping—builds connections that store-bought bread simply cannot provide.
So roll up your sleeves, gather your ingredients, and hop to it—a new family tradition awaits! Your Easter table will shine with the warmth and love that only homemade treats can bring. And as your confidence grows with each bunny bread you bake, you might find yourself exploring other shaped breads for different holidays and celebrations throughout the year.
FAQ About Bunny Bread
Can I make bunny bread with whole wheat flour?
Yes, you can replace up to half of the all-purpose flour with whole wheat flour for a nuttier flavor and added nutrition. The bread will be slightly denser, so you may need to add 1-2 extra tablespoons of water, as whole wheat flour absorbs more moisture. For the best results, use white whole wheat flour, which offers the benefits of whole grains while maintaining a lighter texture.
How far in advance can I make bunny bread for Easter?
You can make bunny bread 1-2 days before Easter and store it properly in an airtight container. For the freshest taste, bake it the day before or on early Easter morning. If pressed for time, shape the dough the night before, refrigerate overnight, and bake fresh on Easter morning – your house will fill with an irresistible aroma just as guests arrive.
Can I use a bread machine to make the dough for bunny bread?
Absolutely! Use your bread machine’s dough cycle to prepare the bunny bread dough, then remove and shape by hand following the instructions above. This time-saving approach combines the convenience of machine mixing and kneading with the opportunity for creative hand-shaping, which adds a special touch to your bunny bread. Just transfer the dough to the shaping stage once the machine beeps.
Is there a gluten-free option for bunny bread?
While traditional bunny bread contains gluten, you can experiment with gluten-free flour blends specifically designed for bread baking. Look for blends that include xanthan gum for structure. The texture will be different from traditional wheat bread, but the shaped result can still be charming. For best results, add an extra egg to the gluten-free dough to help with binding and structure.
What’s the best way to display bunny bread on my Easter table?
Position your bunny bread centerpiece on a decorative platter surrounded by colorful Easter eggs, spring flowers, or fresh herbs for a festive display that showcases your baking creation. A bed of green leaf lettuce can create the appearance of grass, or use a basket lined with a colorful napkin. Elevate your presentation by placing small bowls of butter, honey, or jam nearby for easy serving.
Can children help make bunny bread?
Children can help make bunny bread! They especially enjoy shaping the dough into bunnies and adding decorative elements like eyes and tails. Assign age-appropriate tasks: Younger children can help add ingredients to the bowl and shape simple features, while older children can help with measuring and more detailed shaping. This hands-on activity creates wonderful Easter memories and may spark a lifelong interest in baking.
Your Easter Bunny Bread Journey Begins Now!
Now that you have all the knowledge needed to create your own adorable bunny bread, it’s time to hop into action! Gather your ingredients, set aside a couple of hours for this delightful project, and prepare to amaze your Easter guests with a treat that’s as fun to make as it is to eat.
Remember to share photos of your bunny bread creations on social media with #BunnyBread and #EasterBaking – you might just inspire others to start their own Easter bread tradition. And don’t forget to save this recipe for next year – some families have been making bunny bread for generations, with each year’s creation more charming than the last.
Happy Easter baking, and may your bunny bread bring smiles to all who gather around your table!
[This content is provided for informational purposes only. Always supervise children during cooking activities and be aware of potential allergens in recipes.]
Git more recipes you might like
- Perfect Zebra Cake.
- Chocolate Chip Cookies.
- Sola Bread.
- Ghirardelli Chocolate Experience.
- Best Coffee Places.
- Best Van Leeuwen Ice Cream.
Did You Try Our Recipe?
There are no reviews yet. Be the first one to write one.