
Marble Rye Bread
There’s something magical about slicing into a fresh loaf of marble rye bread and revealing that stunning swirl pattern of light and dark dough. If you’ve ever tried making this classic bread at home only to end up with a disappointing, flat loaf that barely showed any marbling, you’re not alone. But don’t worry—after years of testing and perfecting techniques, I’ve discovered the secrets that will help you create bakery-quality marble rye bread right in your home kitchen.

Whether you’re a complete beginner or you’ve been baking for years, this comprehensive guide will ensure your marble rye turns out perfect every time. Ready to impress your family and friends with beautiful, delicious homemade bread? Let’s get started!
Table of Contents
Table of Contents
What Makes Marble Rye Bread Special
“Marble rye bread isn’t just visually stunning—it’s a delicious marriage of flavors that has stood the test of time.”
Before we dive into the recipe, let’s take a moment to appreciate what makes this bread so unique. Marble rye bread combines two different doughs—light rye and dark rye—to create that iconic swirl pattern when sliced. The contrasting colors aren’t just for show; they represent a beautiful balance of flavors that makes this bread perfect for everything from deli sandwiches to toast.
The Rich History of Marble Rye
Rye bread has deep roots in Northern and Eastern European cuisines, where rye grain grew abundantly in harsh climates unsuitable for wheat. The marble variation became particularly popular in Jewish-American delicatessens, where it starred in classic sandwiches like the Reuben and pastrami on rye.
You might recall the classic ‘Seinfeld’ episode where Jerry snatches a marble rye bread from an elderly woman! That episode alone cemented this bread’s place in American pop culture and increased its popularity nationwide.
Why You’ll Love Making This Classic Recipe
Beyond its fascinating history, there are plenty of reasons to try baking marble rye bread at home:
- The striking swirl pattern instantly turns it into a centerpiece on your table.
- The complex flavor combines the mild tanginess of light rye with the deeper notes of dark rye
- It’s versatile enough for both impressive sandwiches and standalone enjoyment
- Homemade bread is free from the preservatives and additives commonly found in store-bought varieties.
- The sense of accomplishment when you pull a perfect loaf from your oven is unbeatable!
Essential Ingredients for Perfect Marble Rye Bread
Great bread starts with quality ingredients. Here’s everything you’ll need to make the perfect marble rye bread at home:

The Ultimate Marble Rye Ingredient List
| Ingredient | Light Dough | Dark Dough | Purpose |
|---|---|---|---|
| Bread flour | 2 cups (250g) | 1½ cups (187g) | Provides structure and gluten |
| Rye flour | ½ cup (60g) | 1 cup (120g) | Authentic rye flavor |
| Instant yeast | 1½ tsp (5g) | 1½ tsp (5g) | Leavening agent |
| Salt | 1½ tsp (9g) | 1½ tsp (9g) | Enhances flavor |
| Caraway seeds | 1 tbsp (9g) | 1 tbsp (9g) | Traditional flavor |
| Molasses | 1 tbsp (20g) | 2 tbsp (40g) | Creates da ark color |
| Water | ¾ cup (177ml) | ¾ cup (177ml) | Hydration |
| Cocoa powder | – | 2 tbsp (12g) | Creates dark color |
| Vegetable oil | 2 tbsp (30ml) | 2 tbsp (30ml) | Adds moisture, softness |
Selecting Quality Ingredients
Selecting the right ingredients is the key to making exceptional marble rye bread.
As you shop for rye flour, you’ll notice it comes in light, medium, and dark varieties. For beginners, medium rye flour works best as it offers good flavor without being too overwhelming. If you’re feeling adventurous, try dark rye flour in the dark portion for more pronounced flavor contrast.
Fresh yeast is crucial for proper rising. If your yeast has been sitting around for a while, test its freshness by dissolving a teaspoon in warm water with a pinch of sugar. No foam after 10 minutes? It’s time to replace it.
Don’t skip the caraway seeds! These tiny powerhouses provide the distinctive flavor that makes marble rye bread instantly recognizable. If you’re not a fan, you can reduce the amount, but including at least some creates an authentic taste.
Unsweetened cocoa powder is key for the dark dough, adding rich color without noticeably changing the flavor. Avoid Dutch-processed cocoa if possible, as its alkaline nature can interfere with yeast activity.
Equipment You’ll Need for Success
Before starting, gather these tools to make your marble rye bread baking experience smooth and successful:
Essential Tools for Marble Rye Baking
- Kitchen scale for precise measurements (highly recommended but optional)
- Stand mixer with dough hook (or prepare for a good arm workout!)
- Two mixing bowls for preparing and proofing each dough separately
- Loaf pan (9×5 inch) for shaping and supporting the bread
- Parchment paper for easy removal from the pan
- A rolling pin for flattening dough when creating the marble effect
- A sharp knife or a bench scraper for cutting and shaping dough
- Instant-read thermometer to check bread doneness (optional but helpful)
No need to stress if you’re missing a few items from this list. While they make the process easier, you can make delicious marble rye bread with just the basics.
Step-by-Step Marble Rye Bread Method
Now for the exciting part—let’s make some incredible marble rye bread!

Preparing the Dough Components
Light Rye Dough Preparation
- In a large mixing bowl, combine 2 cups bread flour, ½ cup rye flour, 1½ teaspoons instant yeast, 1½ teaspoons salt, and 1 tablespoon caraway seeds. Mix thoroughly.
- Add 1 tablespoon molasses, 2 tablespoons vegetable oil, and ¾ cup warm water (about 105-110°F).
- If using a stand mixer, attach the dough hook and mix on low speed for 2 minutes, then increase to medium speed and knead for 6-8 minutes until the dough becomes smooth and elastic.
- If kneading by hand, stir ingredients until combined, then turn out onto a lightly floured surface and knead for 8-10 minutes until smooth and elastic.
- Form into a ball, place in an oiled bowl, cover with plastic wrap or a damp cloth, and set aside.

Dark Rye Dough Preparation
- In a separate large bowl, whisk together 1½ cups bread flour, 1 cup rye flour, 1½ teaspoons instant yeast, 1½ teaspoons salt, 1 tablespoon caraway seeds, and 2 tablespoons cocoa powder until well combined.
- Add 2 tablespoons of molasses, 2 tablespoons of vegetable oil, and ¾ cup of warm water (around 105-110°F) to the mixture.
- Follow the same mixing and kneading procedure as the light dough.
- Form into a ball, place in a separate oiled bowl, cover, and set aside.
First Proofing Process
Place both covered dough bowls in a warm, draft-free spot in your kitchen. The ideal temperature is between 75-80°F. Let the doughs rise until doubled in size, which typically takes 1-2 hours, depending on the temperature of your kitchen.
You’ll know the doughs are ready when you gently press a finger about ½ inch into the dough and the indentation remains. If the dough bounces back entirely, it still needs more time to rise.
Creating the Marble Effect
This is where the magic happens! Follow these steps to create that beautiful swirl:
- Once both doughs have doubled in size, punch them down gently to release air bubbles.
- On a lightly floured surface, roll each dough portion into a rectangle about 8×12 inches.
- Place the dark dough rectangle on top of the light dough rectangle, lining up the edges.
- Begin at the short edge and roll the dough tightly, like a jelly roll, ensuring the seam is pinched to seal it.
- For a different pattern, try folding the dough instead of rolling, or twist the two doughs together like a braid.
Shaping and Second Proofing
- Grease a 9×5-inch loaf pan and line with parchment paper, leaving some overhang for easy removal.
- Place your marble dough log into the prepared pan, seam side down.
- Gently cover the dough with a clean kitchen towel or plastic wrap to allow it to rise.
- Allow to rise until the dough crests about 1 inch above the rim of the pan, approximately 45-60 minutes.
- While the dough is rising, preheat your oven to 375°F (190°C).

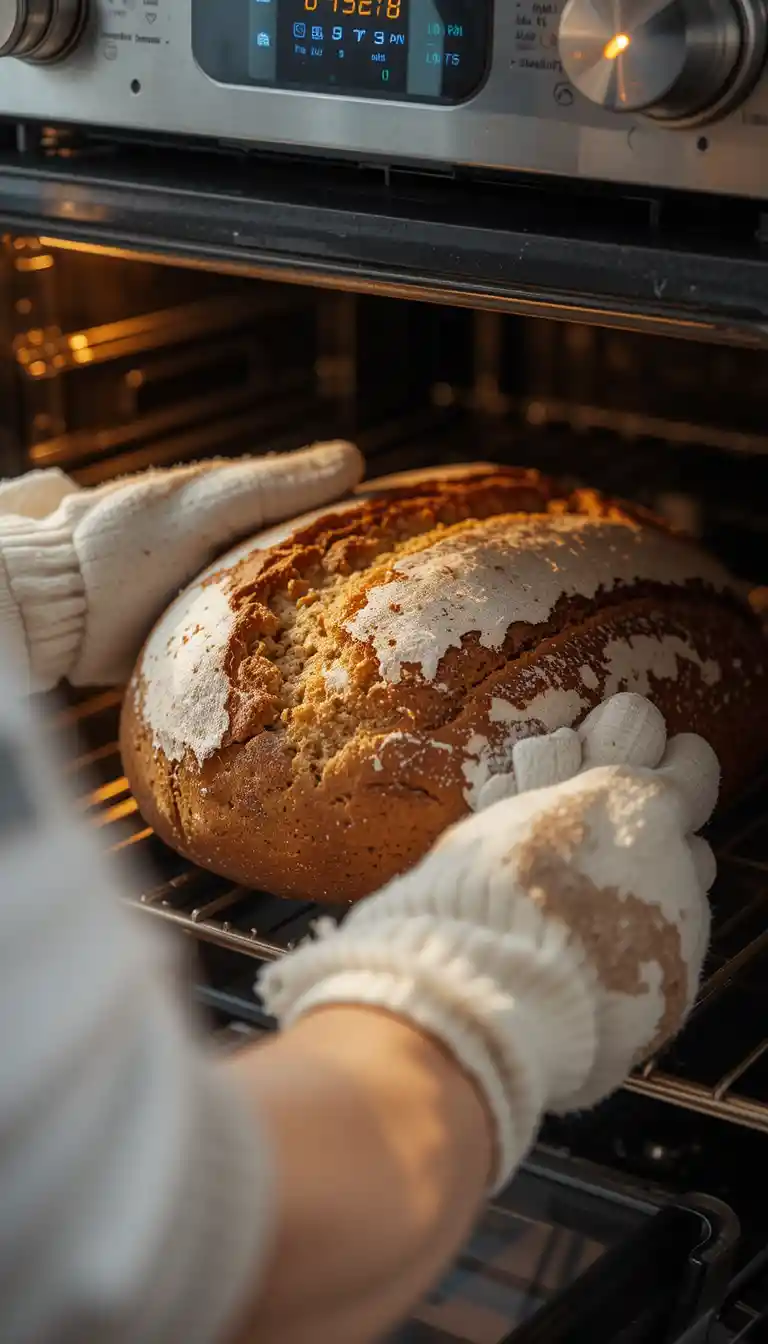
Baking Your Marble Rye to Perfection
- When the dough has risen properly, carefully place the loaf pan in the preheated oven.
- For a crispy crust, place a shallow pan of water on the bottom rack of your oven during the first 10 minutes of baking to create steam.
- Bake for 35-40 minutes, or until the bread gives a hollow sound when tapped on the underside.
- If you have an instant-read thermometer, the internal temperature should reach 195-205°F (90-96°C) when done.
- Remove from the oven and let cool in the pan for 10 minutes.
- Use the parchment paper overhang to lift the bread out of the pan and transfer to a wire rack.
- Allow the bread to cool completely (at least 1 hour) before slicing to prevent squishing the crumb.
Expert Tips for Perfect Marble Rye Every Time
Take your marble rye bread from good to great with these professional tips:
- Keep doughs distinct: When rolling your doughs together, work quickly and handle gently to maintain clear color separation.
- Proper hydration: Rye flour absorbs more water than wheat flour. If your dough seems dry, add water 1 tablespoon at a time until it feels tacky but not sticky.
- Room temperature ingredients: For best results, make sure all ingredients are at room temperature before starting.
- Mind the temperature: Rye bread benefits from slightly cooler fermentation temperatures than wheat bread. If your kitchen is very warm (above 80°F), consider finding a cooler spot for rising.
- The knock test: To determine if your bread is completely baked, take it out of the pan and tap the bottom. It should produce a hollow sound. If it doesn’t, place it back in the oven for a few more minutes.
- Patience pays off: Allow your marble rye bread to cool completely before slicing. Cutting warm bread can make it gummy and ruin your beautiful swirl pattern.
Troubleshooting Common Marble Rye Problems
Even experienced bakers encounter challenges. Here’s how to solve common marble rye bread issues:
Why Isn’t My Marble Rye Rising Properly?
If your dough isn’t rising well, check these potential causes:
- Old yeast: Test your yeast to ensure it’s still active.
- Too cold: Rye bread needs warmth to rise properly. Find a warmer spot or create one by placing the dough near (not on) a warm oven.
- Too much rye: Rye flour contains less gluten than wheat flour. If your dough has too high a proportion of rye flour, it may not rise well. Stick to the ratios in the recipe.
- Over-kneaded dough: Rye dough can turn sticky and challenging to handle if kneaded too much. Mix only until the dough is smooth and elastic.
Fixing Marbling Mistakes
- Colors blending too much: Keep your doughs at the same temperature and work quickly when rolling them together.
- Uneven marbling: Roll both doughs to the same size before combining.
- Dough tearing: If your dough tears while shaping, let it rest for 10 minutes covered with a towel, then try again. This gives the gluten time to relax.
- Collapsed loaf: This often happens when the second rise goes too long. Watch your dough carefully and bake when it’s about 1 inch above the rim of the pan.
Serving and Storing Your Marble Rye Bread

Perfect Pairings for Marble Rye
Your homemade marble rye bread deserves worthy companions! Try these classic pairings:
- Toasted with butter and a sprinkle of sea salt for breakfast
- Reuben sandwiches: A delicious combination of corned beef, Swiss cheese, sauerkraut, and Russian dressing, all grilled to perfection.
- Pastrami, mustard, and pickles come together for an authentic deli-style experience, delivering bold flavors in every bite
- Grilled cheese with sharp cheddar or Swiss
- Alongside hearty soups like split pea or beef barley
Storage Methods for Maximum Freshness
| Storage Method | Shelf Life | Best For | Tips |
|---|---|---|---|
| Room temperature | 2-3 days | Immediate consumption | Slice before freezing, wrap tightly, and thaw individual slices as needed |
| Refrigerator | 5-7 days | Extended freshness | Wrap tightly in plastic wrap or foil to prevent drying |
| Freezer | Up to 3 months | Long-term storage | Slice before freezing, wrap tightly, thaw individual slices as needed |
To refresh day-old marble rye bread, sprinkle with a little water and heat in a 350°F oven for 5-10 minutes.
Variations to Try After Mastering the Basic Recipe
Once you’ve mastered the classic marble rye bread, experiment with these creative variations:
- Pumpernickel Marble: Replace cocoa powder with finely ground coffee and add a tablespoon of blackstrap molasses to the dark dough for authentic pumpernickel flavor.
- Herb-Infused: Add 1 tablespoon of dried dill or 2 tablespoons of fresh dill to the light dough for a fragrant twist.
- Sourdough Marble Rye: Replace ¼ cup water and ¼ teaspoon yeast in each dough with ½ cup active sourdough starter for complex flavor.
- Onion Rye: Add 2 tablespoons dried onion flakes to the light dough for a savory variation that pairs perfectly with smoked meats.
Conclusion
Creating the perfect marble rye bread at home is truly an achievable goal once you understand the fundamentals. With the right ingredients, proper techniques, and a bit of practice, you’ll be baking beautiful loaves that rival any bakery offering. Remember that even if your first attempt isn’t perfect, each loaf teaches you something new about the breadmaking process.
The distinctive swirl, delightful texture, and complex flavor profile of homemade marble rye make it well worth the effort. Plus, there’s nothing quite like the pride that comes from placing a homemade loaf on your table and watching your family and friends enjoy every bite.
Why not start your marble rye bread journey today? Gather your ingredients, set aside a few hours, and experience the satisfaction of creating this classic bread with your own hands. Your kitchen will be filled with delightful aromas, and your taste buds will be in for a treat!

Frequently Asked Questions About Marble Rye Bread
How is marble rye bread different from traditional rye bread?
Marble rye bread combines light and dark rye doughs to create a distinctive swirl pattern when sliced. The dark portion typically contains cocoa powder or coffee for color, while both doughs feature caraway seeds for the characteristic rye flavor.
Can I make marble rye bread without caraway seeds?
Yes, although caraway seeds provide the traditional flavor of marble rye bread, you can omit them if you prefer. Some bakers substitute dill seed or anise for a different but complementary flavor profile.
Why is my marble rye bread dense and heavy?
Dense marble rye bread typically results from insufficient kneading, improper proofing, or too high a proportion of rye flour. Rye contains less gluten than wheat flour, so most marble rye recipes include bread flour to improve the structure and rise.
Is marble rye bread healthier than white bread?
Marble rye bread generally offers more fiber compared to white bread because of its rye flour content. Rye flour also has a lower glycemic index than wheat flour, which may make marble rye a better option for managing blood sugar levels.

Ready to Create Your Masterpiece?
Don’t wait—get baking and try this recipe today! Trust us, you won’t regret it. We’d love to hear about your experience! Drop a comment below and let us know how it turned out, or share your pictures with us on social media. Your feedback means the world!
If you’re craving more delicious recipes like this one, check out some of our other mouth-watering desserts, like our Healthy Chocolate Chip Cookies or Homemade Ice Cream Cone Recipes—they’re the perfect next step in your baking journey.
Join our community! Subscribe to our newsletter for exclusive tips, tricks, and the latest recipes straight to your inbox, or follow us on Instagram @JoyfulCakes for daily baking inspiration!
Git more recipes you might like
- Top 10 Cake Recipes.
- Cookie Cereal Recipe.
- Artesano Bread.
- Aphrodisiac Chocolates.
- Perfect French Press Coffee.
- Venetian Ice Cream Flavors.
Did You Try Our Recipe?
There are no reviews yet. Be the first one to write one.