
Gluten-Free Bread Crumbs
Are you ready to revolutionize your gluten-free cooking? Making your gluten-free bread crumbs is simpler than you might think, and it opens up a world of possibilities for delicious, budget-friendly meals. In this comprehensive guide, we’ll walk you through three easy methods to create perfectly crunchy, flavorful bread crumbs right in your kitchen. Whether you’re using stale bread, crushed cornflakes, or certified gluten-free oats, these techniques will give you the confidence to tackle any recipe with ease. Let’s get started!
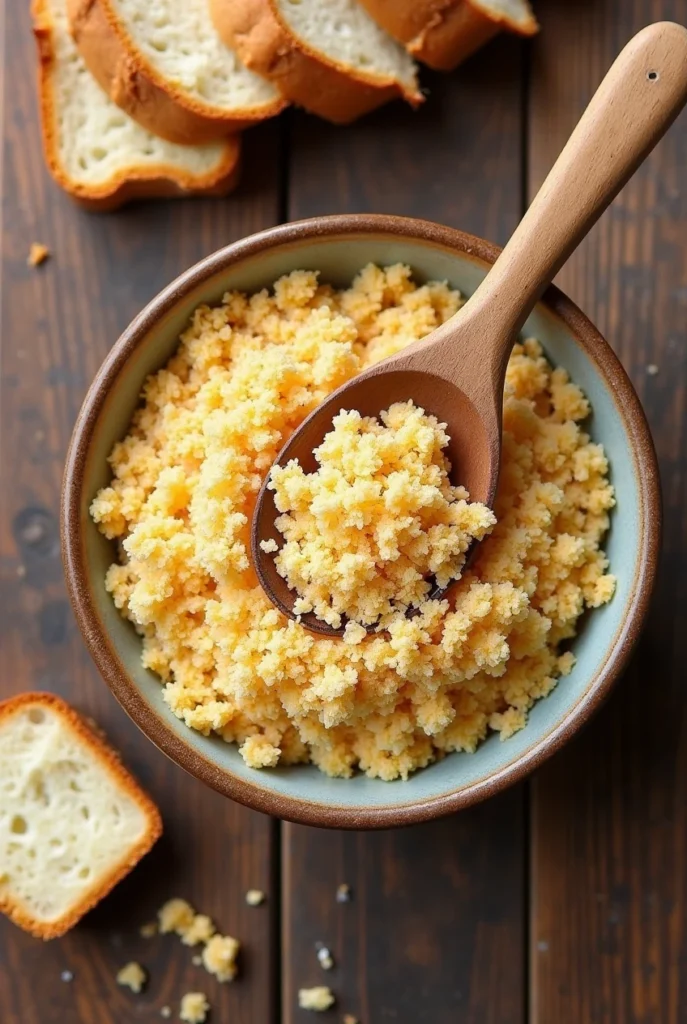
Table of Contents
Why Should You Make Gluten-Free Bread Crumbs at Home?
Before diving into the recipes, let’s explore why making your gluten-free bread crumbs is such a smart choice:
- Cost Savings: Pre-packaged gluten-free products can be expensive. By making your own, you’ll save money while ensuring freshness.
- Customization: Add your favorite seasonings, herbs, and spices to tailor the flavor to your taste buds.
- Healthier Option: Avoid unnecessary additives, preservatives, and extra sodium by controlling exactly what goes into your crumbs.
- Reduce Waste: Turn stale bread or leftover crackers into something useful instead of throwing them away.
Did you know that the average household spends around $50 per year on pre-packaged gluten-free goods? Imagine how much you could save by doing it yourself! Plus, homemade bread crumbs are fresher, tastier, and more nutritious.

Ingredients You’ll Need
To make gluten-free bread crumbs, you’ll need a few basic ingredients. Depending on which method you choose, you may need slightly different items:
Common Ingredients:
- Gluten-Free Bread: Sliced or cubed bread works best. Look for store-bought gluten-free bread or bake your own.
- Cornflakes or Rice Crackers: These are excellent alternatives if you don’t have bread.
- Certified Gluten-Free Oats: A nutritious option for binding and texture.
- Seasonings: Garlic powder, onion powder, dried herbs, nutritional yeast, salt, and pepper.
Optional Add-Ins:
- Paprika
- Cayenne pepper
- Parmesan cheese (if dairy-friendly)
- Lemon zest
- Smoked paprika
Now that you’ve gathered your ingredients, let’s move on to the fun part—making those tasty crumbs!
Method 1: Using Leftover Gluten-Free Bread
This method is perfect if you have stale gluten-free bread sitting in your pantry. Not only does it reduce food waste, but it also results in delicious, customizable bread crumbs. Follow these steps:
Steps:
- Preheat Your Oven: Set your oven to 350°F (175°C).
- Prepare the Bread: Cut your gluten-free bread into small cubes. If it’s fresh, toast it lightly first to dry it out. This helps achieve a better crumb texture.
- Toast the Cubes: Place the bread cubes on a baking sheet lined with parchment paper. Bake for 10–15 minutes until golden brown. Stir halfway through to ensure even browning.
- Cool Completely: Allow the toasted pieces to cool down completely before moving to the next step. Cooling prevents clumping when processing.
- Pulse in a Food Processor: Transfer the cooled cubes to a food processor and pulse until they reach your desired consistency. For finer crumbs, pulse longer.
Pro Tip: To add extra flavor, sprinkle some olive oil and seasoning onto the bread cubes before toasting. This infuses the crumbs with richer flavors.

Variations for Flavorful Bread Crumbs:
- Herb-Infused Crumbs: Toss the bread cubes with dried basil, oregano, and thyme before toasting. Perfect for Italian dishes!
- Cheesy Crumbs: Mix grated Parmesan cheese into the processed crumbs for a savory twist.
- Spicy Crumbs: Add a pinch of cayenne pepper or red pepper flakes for a kick of heat.
Method 2: Crushed Cornflakes or Rice Crackers
If you don’t have any bread on hand, crushed cornflakes or rice crackers are fantastic substitutes. They’re quick to prepare and offer a unique texture.
Steps:
- Choose Your Base: Pick either gluten-free cornflakes or rice crackers. Both options work effectively, depending on the texture you’re aiming for. Cornflakes provide a slightly sweeter taste, while rice crackers are neutral and ideal for savory dishes.
- Crush Them Up: Place the flakes or crackers inside a resealable plastic bag. Use a rolling pin or the base of a heavy pan to press down and crush them into fine crumbs. Be gentle to avoid turning them into powder unless that’s your goal.
- Add Seasonings: Mix in your choice of spices or herbs for added flavor. Try garlic powder, onion powder, or smoked paprika for a savory touch.
- Store Properly: Transfer the crumbs to an airtight container for future use. Keep in a cool, dry location to preserve freshness.
Fun Fact: Crushed cornflakes provide a slightly sweeter taste, making them perfect for desserts like pie crusts or breadcrumb coatings for baked goods.
Tips for Crushing Cornflakes/Rice Crackers:
- Use a Blender: If you don’t want to use a rolling pin, a blender or food processor works just as well. Pulse briefly to avoid overprocessing.
- Adjust Texture: For coarser crumbs, crush less; for finer crumbs, crush more thoroughly.
- Experiment with Flavors: Add cinnamon or vanilla extract for sweet applications or chili powder for spicy ones.

Method 3: Oat-Based Bread Crumbs
Oat-based bread crumbs are a healthier alternative, packed with fiber and nutrients. They’re versatile and can be used in both sweet and savory recipes.
Steps:
- Blend the Oats: Start by blending certified gluten-free rolled oats in a blender or food processor until they resemble coarse sand. The key here is to use certified gluten-free oats to avoid cross-contamination.
- Mix with Binders: Combine the ground oats with almond flour, tapioca flour, or another gluten-free binder for better texture. This step ensures the crumbs hold together well when used in recipes like meatballs or coatings.
- Season generously: Don’t forget to toss in your favorite seasonings for extra flavor. Nutritional yeast adds a cheesy note, while garlic powder and onion powder enhance savory dishes.
- Use Immediately or Store: Use the crumbs right away or keep them in the fridge for up to two weeks. For long-term storage, freeze in portions.
Health Tip: Oats are naturally gluten-free, but always opt for certified options to ensure safety against cross-contamination.
Benefits of Oat-Based Bread Crumbs:
- High in Fiber: Oats are rich in dietary fiber, promoting digestive health.
- Nutritious: Packed with vitamins and minerals, oat-based crumbs are a great addition to your diet.
- Versatile: Use them in everything from coatings for fried foods to toppings for casseroles.

Tips for Perfect Gluten-Free Bread Crumbs
Here are a few additional tips to ensure your homemade bread crumbs turn out amazing every time:
- Check Labels Carefully: Always confirm that all ingredients are certified gluten-free to prevent accidental exposure. Cross-contamination is a common issue, so read labels thoroughly.
- Experiment with Flavors: Try unique combinations like smoked paprika, curry powder, or grated lemon zest. Customize the flavor profile based on the dish you’re preparing.
- Store Properly: Keep your crumbs in an airtight container to maintain freshness. For long-term storage, freeze them in portions.
- Test Before Committing: Make a small batch first to see if the texture and flavor meet your expectations. Adjust seasonings as needed.
Common Uses for Homemade Gluten-Free Bread Crumbs
Once you’ve made your breadcrumbs, there are countless ways to use them. Here are some ideas:
- Coating for Fried Foods: Dip chicken, fish, or vegetables in beaten eggs, then coat with crumbs before frying. This creates a crispy, golden exterior.
- Topping for Casseroles: Sprinkle over pasta bakes, lasagna, or mac and cheese for a crunchy finish.
- Binding Agent: Use them in meatballs, burgers, or veggie patties to hold everything together.
- Thickener for Soups: Stir a spoonful into soups or stews for added thickness and flavor.
- Pie Crust Substitute: Mix with butter and sugar for a quick, crumbly pie crust base.
Troubleshooting Common Issues
Despite your best efforts, issues can occasionally arise. Here’s how to troubleshoot common issues:
- Crumbs Too Fine: If your crumbs turn into powder, try crushing less or pulsing fewer times in the food processor.
- Not Crispy Enough: Ensure your base ingredient (bread, cornflakes, or oats) is fully dried out before processing. Toasting helps achieve crispiness.
- Lack of Flavor: Add more seasonings or experiment with different herbs and spices to boost the taste.

Frequently Asked Questions
Q1: Can I Freeze Gluten-Free Bread Crumbs?
Yes, absolutely! Freezing extends their shelf life significantly. Portion them out in freezer-safe bags for easy access whenever you need them. Simply thaw at room temperature or use directly from the freezer.
Q2: What If I Don’t Have a Food Processor?
No problem! A blender or mortar and pestle work just as well. Alternatively, place ingredients in a resealable bag and crush with a rolling pin. It’s a bit more labor-intensive, but the results are worth it.
Q3: Are All Oats Safe for People with Celiac Disease?
Not necessarily. Look for certified gluten-free oats to ensure safety against cross-contamination during processing. Regular oats may contain traces of gluten due to shared equipment or facilities.
Q4: How Long Do Gluten-Free Bread Crumbs Last?
Stored properly in an airtight container, they can last up to two weeks at room temperature or several months in the freezer. Be sure to inspect for any signs of spoilage, like unusual odors or the presence of mold.
Conclusion: Take Control of Your Gluten-Free Kitchen
Making gluten-free bread crumbs at home is not only cost-effective but also incredibly rewarding. With these three simple methods, you can customize flavors, reduce waste, and enjoy fresh, flavorful crumbs in all your favorite recipes. So, why wait? Grab your ingredients and start experimenting today!
Ready to Crunch Smarter?
Now that you’ve learned three easy ways to make your gluten-free bread crumbs, it’s time to put them into action. Which method will you try first—bread, cornflakes, or oats? Share your experience or favorite seasoning combinations in the comments below. Your feedback could inspire someone else!
If you found this guide helpful, consider leaving a rating or sharing it with a friend who’s living gluten-free.
Looking for more gluten-free cooking tips? Explore our related recipes
Don’t miss out on future recipes and kitchen tips—subscribe to our newsletter or follow us on social media for regular updates and ideas.
More recipes to enjoy
- Cake Toppers.
- Cookie Cereal Recipe.
- Artesano Bread.
- Best Chocolate-Covered.
- Best Swiss Coffee.
- Venetian Ice Cream Flavors.