
10+ Stunning Hello Kitty Cake | Bake Like a Pro!
Do you remember the first time you saw Hello Kitty? That iconic white cat with her red bow and endearing smile has captured hearts worldwide. Now imagine bringing that same joy to life in your kitchen with a delightful Hello Kitty cake —a treat so charming it’s sure to leave everyone smiling. Whether you’re baking for a birthday, a special occasion, or just because, this guide will walk you through creating stunning cakes that are as adorable as they are delicious. Let’s dive into the world of sweet creativity together!
Why Choose a Hello Kitty Cake?
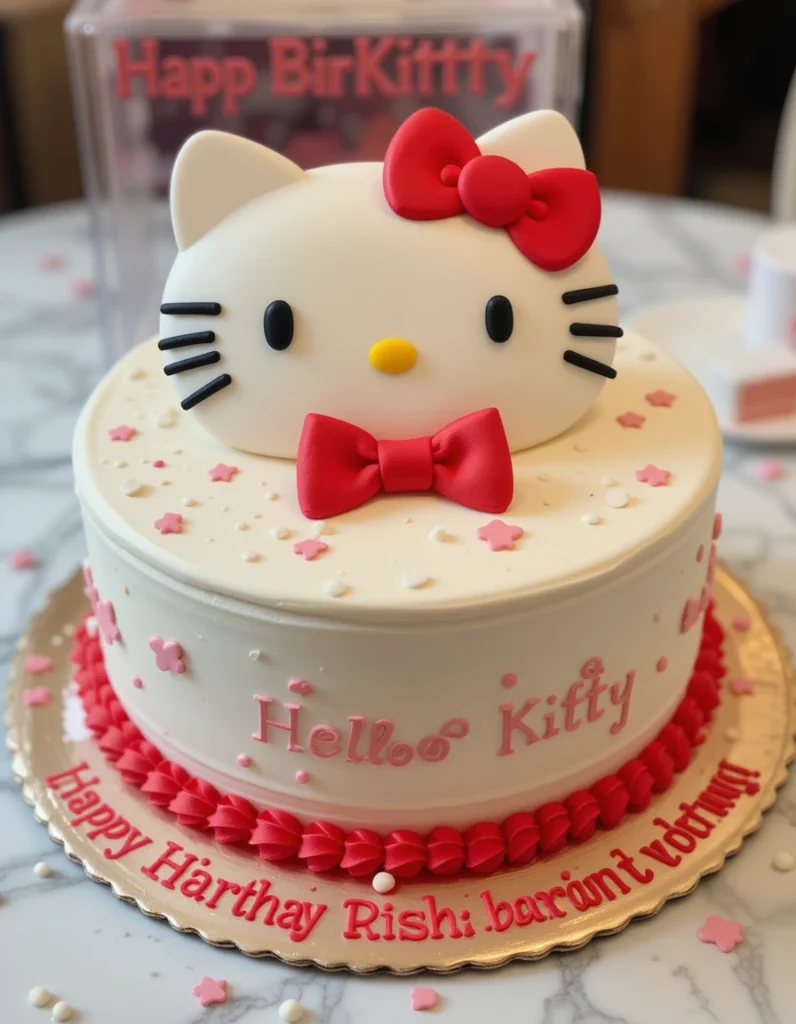
Table of Contents
Table of Contents
The Magic of Hello Kitty
There’s no denying the universal appeal of Hello Kitty. For decades, this beloved character has been a symbol of innocence, playfulness, and joy. Incorporating Hello Kitty into your desserts adds an extra layer of fun and nostalgia, making it perfect for celebrations of all kinds. From children’s parties to adult gatherings, a Hello Kitty cake is guaranteed to steal the show.
“A Hello Kitty cake is more than just a sweet treat—it’s a delightful celebration of innocence, joy, and playful charm.”
Perfect for Every Occasion
Whether you’re planning a birthday party, hosting a baby shower, or simply looking for a creative way to surprise someone special, a Hello Kitty cake fits seamlessly into any theme. Its versatility makes it ideal for events ranging from casual get-togethers to formal celebrations. Plus, who wouldn’t want to indulge in something so cute?
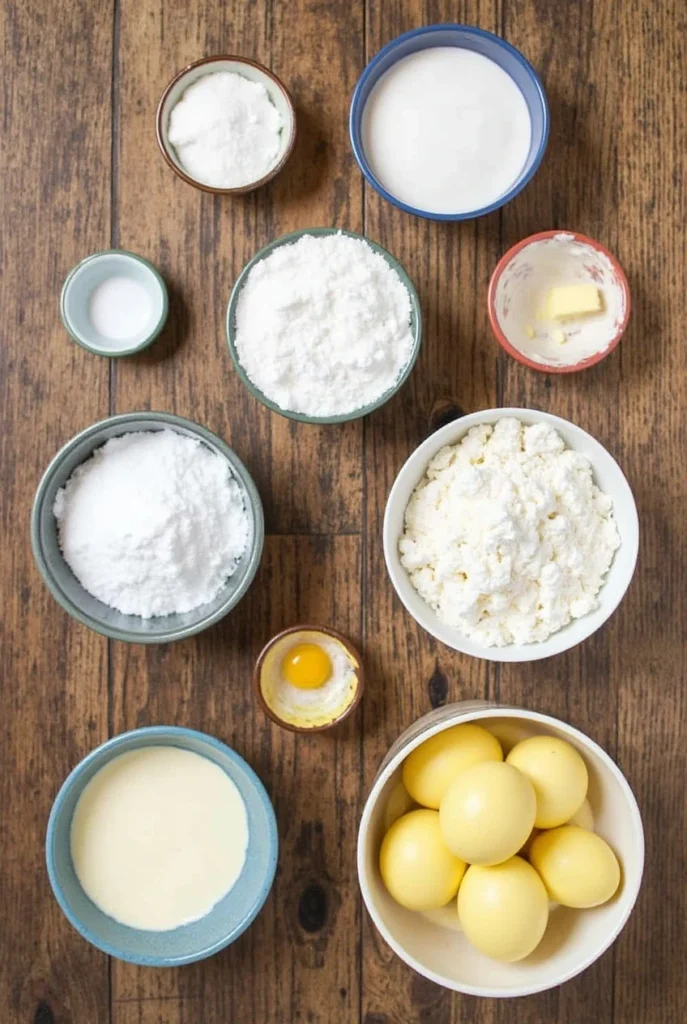
Ingredients You’ll Need for Your Hello Kitty Cake
(Presented in Table Format)
| Category | Ingredient | Quantity |
|---|---|---|
| Base Cake | All-purpose flour | 2 cups |
| Sugar | 1½ cups | |
| Eggs | 3 large eggs | |
| Milk | 1 cup | |
| Vanilla extract | 1 teaspoon | |
| Frosting | Butter | ½ cup softened |
| Powdered sugar | 4 cups | |
| Coloring & Design | Pink food coloring gel | As needed |
| White chocolate | 200g (for melting) |
Note: Adjust quantities based on the size of your cake. Consider sourcing high-quality ingredients for superior taste and texture.
Step-by-Step Guide to Baking a Hello Kitty Cake
Step 1 – Prepare the Cake Batter
Start by preheating your oven to 350°F 175°C. Once ready, follow these steps:
- In a large mixing bowl, combine dry ingredients: flour, sugar, baking powder, and a pinch of salt. Mix thoroughly until well combined.
- Gradually add the wet ingredients: eggs, milk, and vanilla extract. Stir gently using either a whisk or an electric mixer until smooth. Be careful not to overmix, as this could lead to dense cakes.
- Divide the batter evenly between two prepared cake pans, ensuring each pan receives roughly the same amount.
Step 2 – Bake the Cake Layers
Once your batter is ready, place the pans in the preheated oven. Bake for about 25–30 minutes, or until a toothpick inserted into the center of the cake emerges clean.
After removing the cakes from the oven, allow them to cool completely before proceeding. Cooling is crucial, as applying frosting to warm cakes may cause them to melt and ruin your design.
Step 3 – Create the Frosting
While your cakes cool, prepare the frosting:
- Begin by creaming softened butter until light and fluffy. This step ensures a creamy consistency once powdered sugar is added.
- Gradually incorporate powdered sugar, one cup at a time, beating continuously until fully mixed. Add milk sparingly to reach the desired spreading consistency.
- Finally, introduce pink food coloring gel drop by drop, stirring after each addition until achieving the perfect shade reminiscent of Hello Kitty’s signature hue.
Step 4 – Decorate Your Hello Kitty Cake
With your cakes baked and frosted, it’s time to bring Hello Kitty to life! Follow these tips:
- Use white chocolate melted in a piping bag to outline Hello Kitty’s features. Start with her head shape, followed by facial details like eyes, nose, and whiskers.
- To achieve smooth lines, practice drawing shapes on parchment paper before transferring designs onto the cake.
- Consider adding additional elements like flowers or bows around the base to enhance the overall aesthetic.

Tips for Success
Common Mistakes to Avoid
Even seasoned bakers encounter challenges occasionally. Here are a few tips to help you steer clear of common mistakes:
- Overmixing: Overworking the batter introduces excess air, leading to collapsed cakes. Always mix gently until just combined.
- Uneven Cooling: Rotate cakes halfway through baking to ensure even heat distribution. Afterward, let them rest on wire racks instead of directly on countertops.
Pro Tips for Beginners
To elevate your Hello Kitty cake, consider these expert suggestions:
- Practice drawing Hello Kitty designs on parchment paper before transferring them to the cake. This helps refine your skills and ensures clean lines.
- Keep extra frosting handy for touch-ups, especially if mistakes happen during decoration.
Variations and Ideas
Different Flavors for Your Hello Kitty Cake
While vanilla sponge provides a classic base, feel free to experiment with other flavors to suit individual preferences:
- Strawberry: Infuse the batter with fresh strawberries or strawberry extract for a fruity twist.
- Chocolate: Swap cocoa powder for some of the flour to create a rich, decadent flavor.
- Lemon: Add lemon zest and juice to the batter for a refreshing zing.
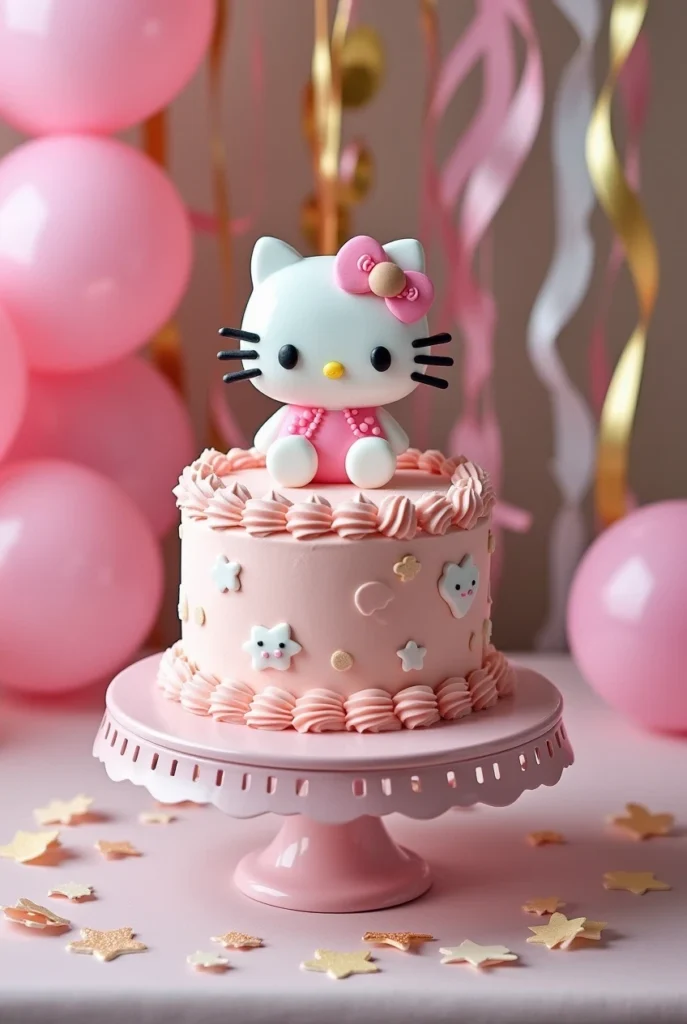
Themed Party Ideas
Pair your Hello Kitty cake with coordinating decorations to immerse guests in the theme:
- Use balloons, tableware, and party favors featuring Hello Kitty motifs.
- Set up a DIY photo booth with props like bows, ears, and wands for added fun.
Conclusion
Creating a Hello Kitty cake doesn’t have to be intimidating. With this step-by-step guide, you now possess the knowledge and confidence to produce a stunning masterpiece worthy of admiration. Remember, baking is both science and art—allow yourself room to explore and enjoy the process.
Whether it’s for a special occasion or spontaneous fun, sharing this experience with loved ones strengthens connections and fosters cherished memories. So grab your apron, invite your little helper into the kitchen, and let’s get started!
FAQ Section
Q1: How long does it take to make a Hello Kitty cake?
A: The entire process typically takes 2–3 hours, accounting for preparation, baking, cooling, and decoration phases.
Q2: Can I use store-bought frosting instead of making my own?
A: Absolutely! Store-bought options save time but lack customization potential. Opt for one compatible with coloring gels for vibrant hues.
Q3: What if my Hello Kitty cake doesn’t turn out perfectly?
A: Imperfections happen! Focus on having fun and learning along the way. Taste always trumps appearance.
Q4: Is there a Hello Kitty cake recipe for gluten-free diets?
A: Yes! Simply replace all-purpose flour with a certified gluten-free blend and follow the same instructions provided above.
Ready to create your own adorable Hello Kitty cake?
Don’t wait—grab your apron and try out this fun, easy recipe today! We’d love to hear how your cake turns out, so drop a comment below and share your photos with us. Don’t forget to rate the recipe and let us know what you think!
Looking for more creative cake ideas? Check out our other fun recipes,
Want more sweet inspiration delivered straight to your inbox? Subscribe to our newsletter or follow us on social media for more delicious recipes and baking tips. Happy baking!
Git more recipes you might like
- Moose Tracks Ice Cream.
- Cold Brew Coffee.
- Best Chocolate Bar for You.
- Bread and Cheese Pairings.
- Cottage Cheese Cookie Dough.
- Kids’ Birthday Cake Designs.
Did You Try Our Recipe?
There are no reviews yet. Be the first one to write one.