
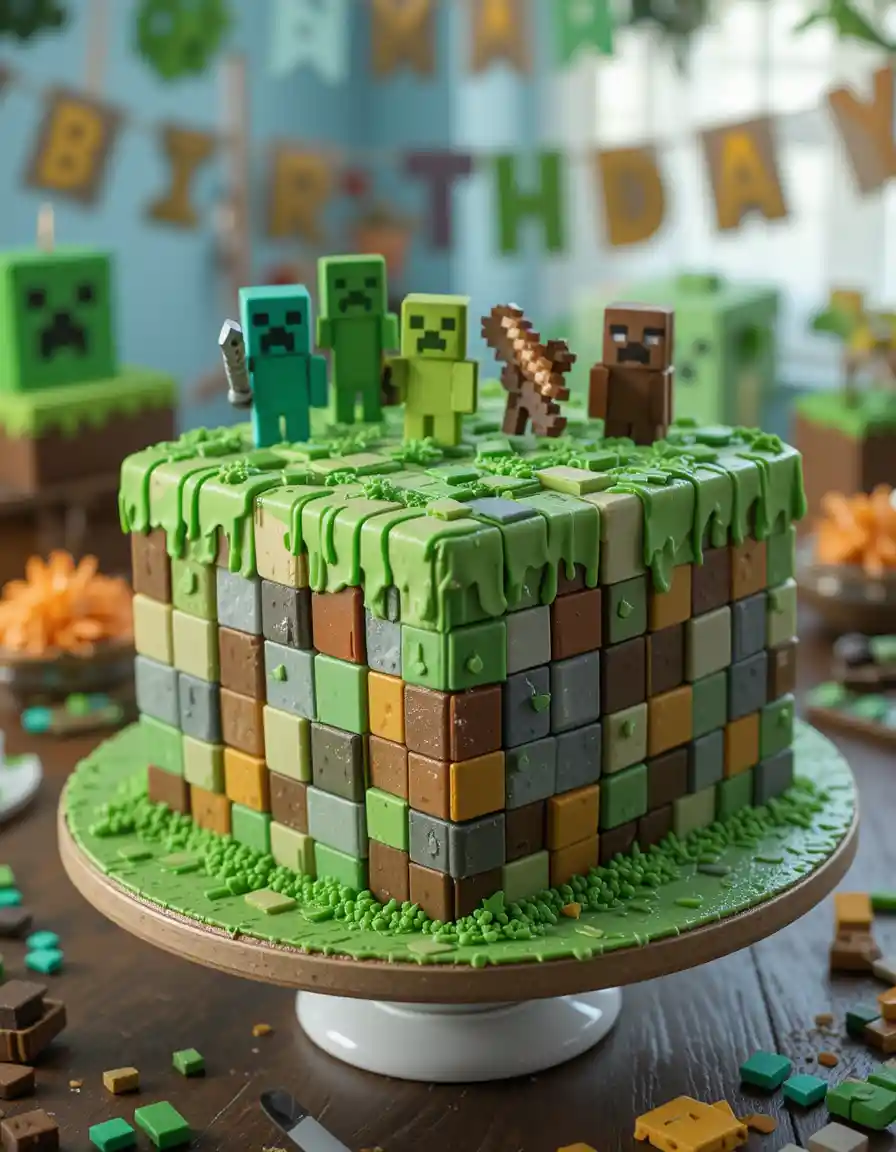
Minecraft Cake Recipe
If you’re a Minecraft enthusiast looking to bring your favorite game into the real world, this Minecraft cake recipe is just what you need. Not only is it a delicious treat, but it’s also budget-friendly, so you don’t have to worry about overspending. By using simple, affordable ingredients and basic baking equipment, you can create a show-stopping cake without breaking the bank. Managing your kitchen gear smartly also means you’ll avoid unnecessary expenses or even the need for specialized insurance on expensive equipment.
On top of that, we’ll share some finance tips to help you save money while baking and some health-conscious alternatives to make this cake a bit lighter without sacrificing flavor. Whether you’re planning a birthday party, a gamer meetup, or a family celebration, this recipe combines fun, practicality, and a touch of creativity — all while keeping your costs low and your safety in check. Let’s dive into crafting a Minecraft cake that’s as impressive as your in-game creations!
My Ltest Recipes

Vinícius Jr. Transfer to Chelsea: Truth Behind the Rumor, Facts & Insights

Before You Buy Exercise Equipment – Save Money & Time
Minecraft Cake Ingredients List (With a Budget Twist)
Before you start building your Minecraft cake masterpiece, let’s talk ingredients—and how to keep things wallet-friendly without skimping on quality. Using budget-friendly ingredients doesn’t mean you have to sacrifice taste or presentation. Plus, choosing the right baking equipment upfront can save you money in the long run and reduce wear and tear, helping you avoid costly repairs or insurance claims on your kitchen gear.
Here’s what you’ll need:
- 2 cups all-purpose flour — opt for store brands or bulk purchases to save a few bucks.
- 1 ½ cups granulated sugar — consider swapping in natural sweeteners if you’re health-conscious.
- ¾ cup unsweetened cocoa powder — a must for that rich chocolate flavor.
- 1 ½ teaspoons baking powder
- 1 ½ teaspoons baking soda
- 1 teaspoon salt
- 2 large eggs
- 1 cup whole milk — or try a dairy-free alternative for a healthier twist.
- ½ cup vegetable oil
- 2 teaspoons vanilla extract
- 1 cup boiling water
To keep your costs down, shop around for sales on essential baking equipment like mixing bowls, spatulas, and pans. Investing in durable kitchen tools might sound pricey upfront, but it’s a smart financial move—you’ll avoid frequent replacements and keep your baking setup covered without needing extra insurance.
Step-by-Step Minecraft Cake Recipe Instructions (With Smart Equipment Tips)
Ready to craft this awesome Minecraft cake? Follow these simple steps to get perfect results every time—no fancy baking equipment or expensive insurance needed. Using reliable, budget-friendly kitchen gear will keep your baking smooth and safe.
- Preheat your oven to 350°F (175°C). Make sure your oven is properly calibrated—faulty equipment can mess with baking times and lead to costly mistakes.
- Grease and flour two 9-inch round cake pans. If you don’t have cake pans, use baking spray or parchment paper as a budget-friendly alternative.
- Mix the dry ingredients — flour, sugar, cocoa powder, baking powder, baking soda, and salt — in a large bowl. Using quality mixing bowls and utensils ensures even blending and saves you time and effort.
- Add eggs, milk, oil, and vanilla extract to the dry mix and beat with an electric mixer or sturdy whisk until smooth. Investing in a reliable mixer is a smart choice to avoid kitchen mishaps and pricey repairs.
- Slowly pour in boiling water while stirring. The batter will be thin—that’s normal and key to a moist cake.
- Pour batter evenly into the prepared pans. Be careful not to overfill; this prevents spills that could mean extra cleanup or damage to your oven equipment.
- Bake for 30 to 35 minutes, or until a toothpick inserted into the center comes out clean. Don’t forget to keep an eye on your oven’s performance to avoid uneven cooking that could waste ingredients and money.
- Let the cakes cool in the pans for 10 minutes, then transfer to a wire rack to cool completely. Use oven mitts and cooling racks to keep things safe and avoid burns or accidents.
Now that your cake layers are perfectly baked and cooled, it’s time to get creative with decorating equipment and supplies that won’t break your budget. In the next section, we’ll explore smart ways to customize your Minecraft cake—using affordable baking tools and expert design tips that maximize value without compromising quality. Let’s level up your cake design while keeping an eye on health, safety, and smart spending!
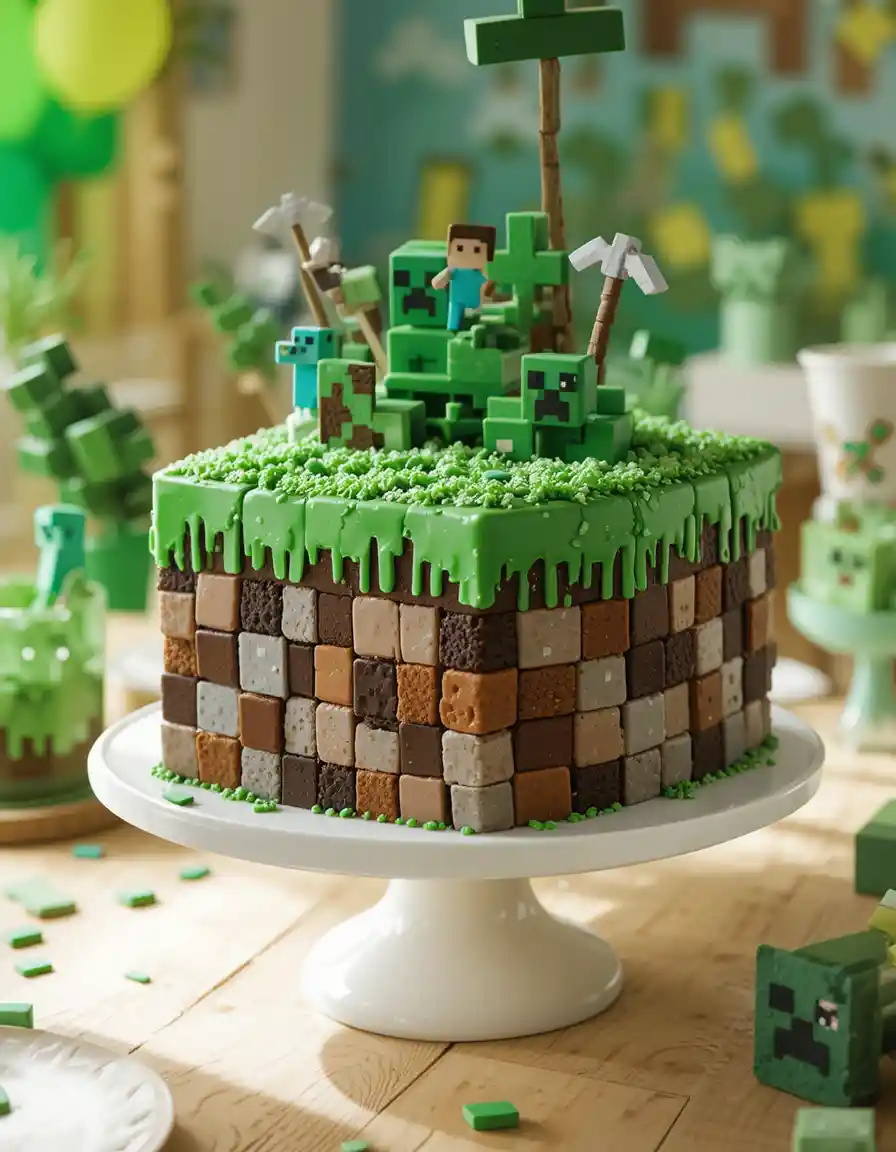
Customizing Your Minecraft Cake: Level Up Your Design
Alright, you’ve nailed the base cake—now let’s bring that Minecraft vibe to life with some cool, budget-friendly decorating ideas. Customizing your cake doesn’t have to mean splurging on fancy equipment or pricey supplies. By using smart baking equipment and affordable decorating tools, you can create a standout cake that looks professionally crafted without breaking the bank.
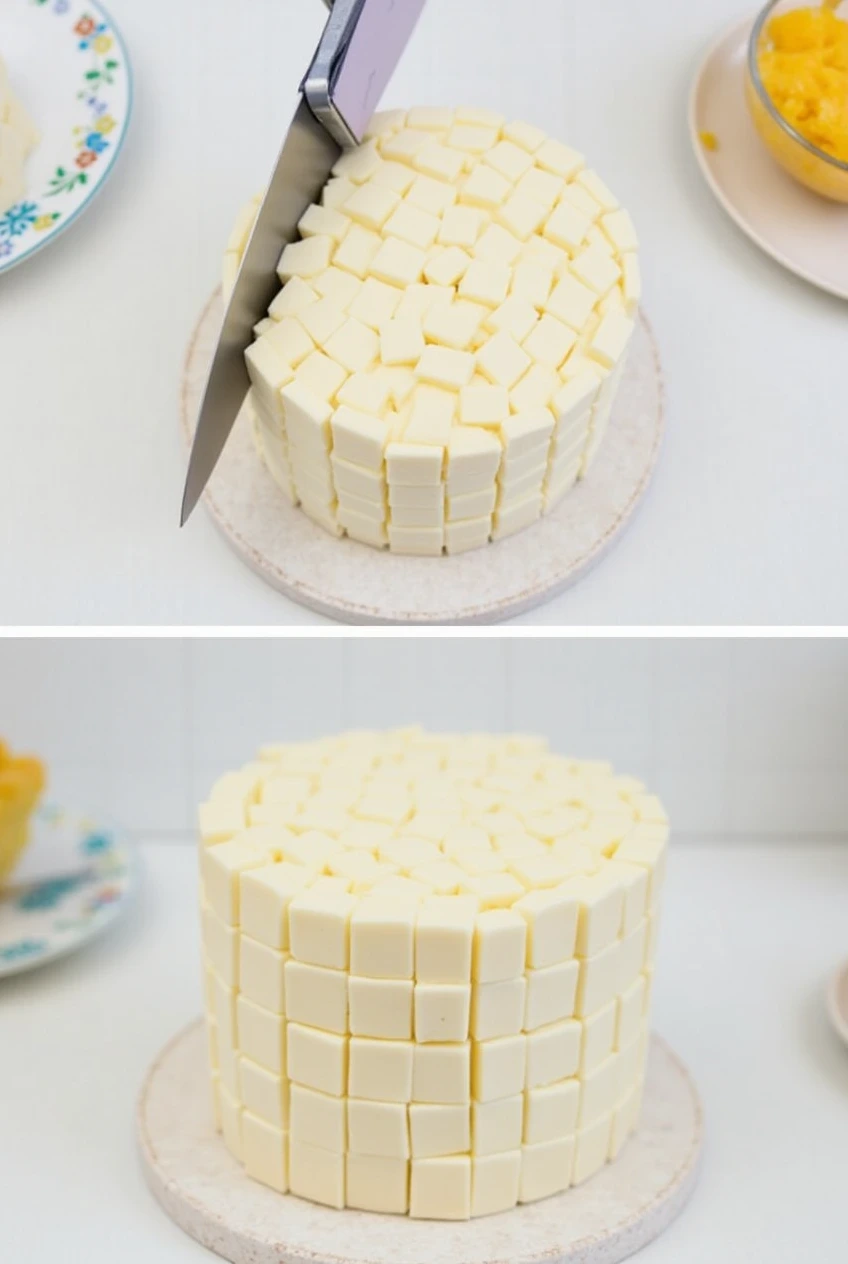
Start by choosing the right frosting and edible decorations that match Minecraft’s iconic pixelated style. For frosting, consider using buttercream or fondant—you can find both at reasonable prices, especially if you shop around or buy in bulk. Using basic tools like spatulas, piping bags, and food-safe brushes will give you control over details without the need for costly gadgets.
If you want to get creative, edible printing sheets or simple chocolate blocks can be used to replicate Minecraft blocks and characters. These add a wow factor and are great investments if you’re planning on making themed cakes regularly, helping you save money over time. Remember, having quality equipment and baking supplies not only improves your cake’s look but also reduces the risk of accidents—meaning you won’t need to worry about costly repairs or insurance claims.
Plus, if you’re mindful about health, consider swapping out some ingredients or decorations with healthier alternatives without losing that authentic Minecraft flair. This way, your cake stays delicious and a bit kinder on the waistline.
With a little patience and the right tools, your Minecraft cake will be the centerpiece of any party or gaming session. Next up, we’ll look at some healthier variations to keep your treat both tasty and guilt-free!

Healthier Variations: Keep It Sweet Without the Guilt
Who says you can’t enjoy your Minecraft cake and still stay health-conscious? With a few simple swaps and smart choices, you can create a healthier version that’s just as tasty—without blowing your budget or needing expensive health supplements.
Start by choosing alternative sweeteners like coconut sugar, honey, or stevia instead of granulated sugar. These options not only reduce your cake’s glycemic impact but also add a touch of natural flavor. If you’re watching your calories or managing specific health needs, incorporating these healthier ingredients can make a big difference.
For the frosting, try swapping traditional buttercream with Greek yogurt-based frosting or using light cream cheese spreads. Both options reduce fat and sugar content, helping you keep your dessert lighter and better for your diet.
Don’t forget about the baking equipment, either. Using non-stick pans and silicone baking mats can reduce the need for extra oil or butter, keeping your recipe leaner and easier to clean up. Investing in high-quality, safe kitchen tools also minimizes the risk of accidents—saving you from costly injuries or insurance claims.
If you’re interested in cutting back on dairy or gluten, there are plenty of great plant-based milk alternatives and gluten-free flours that work perfectly in this recipe. These swaps make your cake more inclusive without compromising taste or texture.
By combining these health-savvy tweaks with smart finance choices—like buying ingredients in bulk or shopping sales—you can enjoy your Minecraft cake guilt-free while keeping your kitchen running efficiently and safely.
Trending Recipes Now
Vinícius Jr. Transfer to Chelsea: Truth Behind the Rumor, Facts & Insights
Before You Buy Exercise Equipment – Save Money & Time

You Won’t Believe What Ronaldo Just Said About African Football

Cristiano Ronaldo Fast & Furious 11 Trailer: Real or Viral Rumor?

This Was Never Supposed to Go Public – The PSG Leak Explained
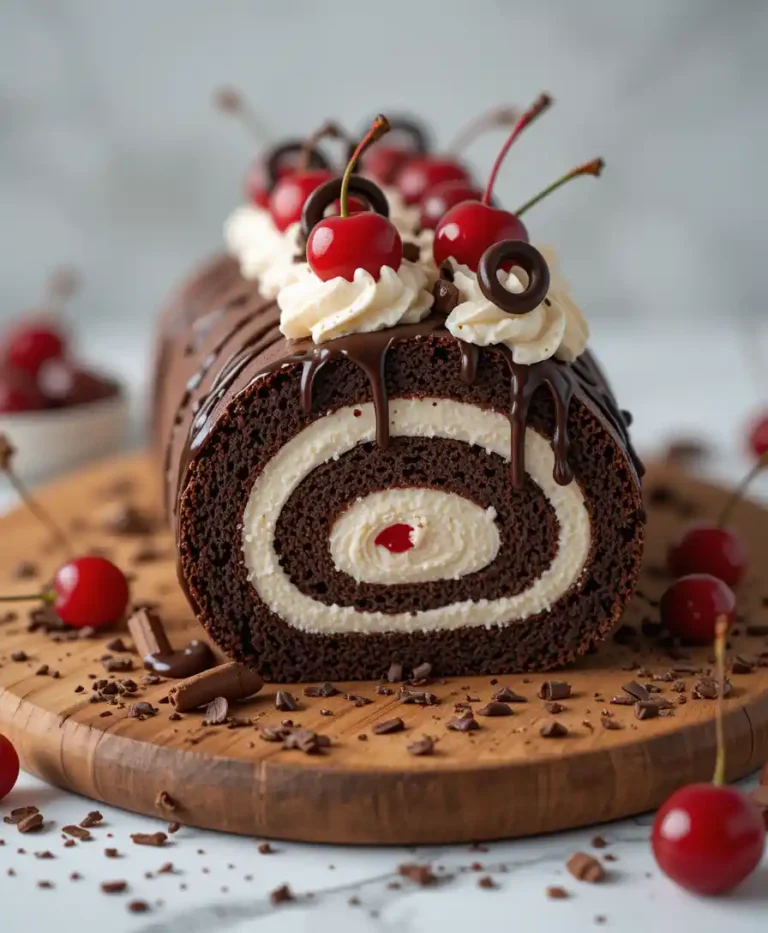
Chocolate Swiss Roll Cake
Common Mistakes & How to Avoid Them
Baking a Minecraft cake sounds fun, but even the best bakers hit a few snags now and then. Knowing the common pitfalls—and how to avoid them—can save you money, time, and frustration. Plus, using the right baking equipment and following safety tips reduces the risk of accidents that could lead to costly insurance claims or expensive repairs.
- 1. Incorrect Oven Temperature:
One of the biggest mistakes is not preheating your oven properly or relying on an inaccurate oven thermostat. This can result in uneven baking or a soggy cake. Investing in an oven thermometer is a smart finance decision to ensure your equipment is working correctly every time. - 2. Overmixing the Batter:
Overmixing can lead to a dense, tough cake. Use the right mixer setting or opt for manual mixing with a quality whisk to maintain the perfect texture. Good kitchen equipment helps you control mixing speed and consistency easily. - 3. Skipping Ingredient Measurements:
Eyeballing ingredients might seem quicker, but it can ruin your cake’s balance. Precision is key—especially with baking powder and baking soda. Accurate measuring tools are essential equipment for consistent results. - 4. Ignoring Equipment Safety:
Don’t overlook basic kitchen safety, like wearing oven mitts or placing hot pans on heat-resistant surfaces. Accidents in the kitchen can lead to injuries or damage your equipment, possibly increasing your insurance costs or repair bills. - 5. Not Letting the Cake Cool Properly:
Cutting into your cake too soon can cause it to crumble or stick. Allow enough cooling time on a wire rack to keep your cake looking sharp and tasting perfect.
By avoiding these mistakes and using the right baking tools, you’ll save money, reduce stress, and bake a Minecraft cake worthy of any gamer’s celebration.
More Easy Quick Recipes
Vinícius Jr. Transfer to Chelsea: Truth Behind the Rumor, Facts & Insights
Before You Buy Exercise Equipment – Save Money & Time
Why This Minecraft Cake Recipe Saves You Money & Time
When it comes to baking, saving money and time is just as important as getting great taste and presentation. This Minecraft cake recipe is designed with both in mind, using budget-friendly ingredients and simple equipment that don’t require expensive insurance or pricey replacements.
By choosing affordable baking supplies and multipurpose kitchen tools, you reduce waste and avoid frequent gear upgrades. Investing smartly in durable equipment not only cuts down on long-term costs but also makes your baking process smoother and safer—minimizing accidents and the need for costly repairs or insurance claims.
The recipe itself is straightforward, with easy-to-follow steps that don’t eat up your entire day. This efficiency lets you spend more time enjoying the cake with friends or family instead of stressing over complicated techniques or cleanup.
Plus, shopping for ingredients in bulk or during sales maximizes your baking budget without compromising quality. Whether you’re baking for a birthday party or just a casual gamer hangout, this recipe helps you create an impressive cake while keeping your finances and time in check.
Final Thoughts on Minecraft Cake
Baking your own Minecraft cake is a fun, rewarding way to celebrate your love for the game—without breaking the bank or risking costly equipment damage. By using budget-friendly ingredients, smart kitchen equipment, and health-conscious swaps, you’re not only crafting a delicious dessert but also making smart financial choices. Remember, investing in quality baking tools and practicing kitchen safety can save you money on repairs and insurance in the long run.
Whether you’re a beginner or a seasoned baker, this recipe gives you everything you need to create an impressive cake that’s perfect for any occasion. So, grab your supplies, follow the steps, and enjoy the sweet taste of success—Minecraft style!
Git more recipes you might like
FAQs About Minecraft Cake Baking, Equipment & Safety
Q1: What’s the best baking equipment for making a Minecraft cake?
A: Investing in reliable baking pans, quality mixers, and non-stick bakeware makes a big difference. Durable equipment not only improves your baking results but also reduces the risk of accidents or damage, helping you avoid costly repairs or insurance claims.
Q2: Can I substitute ingredients for healthier Minecraft cake options?
A: Absolutely! You can swap regular sugar for natural sweeteners like stevia or honey, and use dairy-free milk alternatives such as almond or oat milk. These healthier options cater to various dietary needs and help keep your cake delicious and guilt-free.
Q3: How can I save money on baking equipment and ingredients?
A: Shop during sales, buy ingredients in bulk, and choose multipurpose kitchen tools. This smart finance approach reduces upfront costs and stretches your baking budget without compromising quality.
Q4: Do I need special insurance if I bake cakes at home regularly?
A: If you’re selling cakes professionally, it’s wise to look into home business insurance or liability coverage. For casual baking, maintaining good kitchen safety practices and using reliable equipment usually keeps you covered and minimizes risk.
Customer Reviews & Testimonials About the Minecraft Cake Recipe
⭐️⭐️⭐️⭐️⭐️ “This Minecraft cake recipe is a total game-changer! The instructions were easy to follow, and I loved the tips on budget-friendly baking equipment. Saved me a ton on supplies without sacrificing quality.” — Jamie P.
⭐️⭐️⭐️⭐️⭐️ “I appreciate the health-conscious variations included here. Being able to swap ingredients for healthier options without ruining the taste was a huge plus. Plus, the kitchen safety advice gave me peace of mind while baking!” — Maria L.
⭐️⭐️⭐️⭐️⭐️ “As someone new to baking, the finance tips for buying affordable equipment helped me a lot. I didn’t have to spend a fortune on gear or worry about insurance for my kitchen tools. Highly recommend this recipe!” — David R.
⭐️⭐️⭐️⭐️⭐️ “The step-by-step guide was perfect, and the customizing ideas made my cake stand out at my son’s birthday party. Using the suggested equipment and baking tools made the process smooth and safe.” — Sophia M.
Leave a quick review and let me know how it went!